 Anacortes
 Building New in Ship Harbor Means Building for the Water
Ship Harbor sits on the exposed west side of Anacortes, close enough to Rosario Strait and Guemes Channel that wind-driven rain and salt-laden air are part of daily life, not an occasional storm event. If you're framing a new home or addition out here, the window installation is one of the few construction steps that will determine whether the building envelope holds up for decades or starts showing water problems within a few winters. This page covers what a correct new-construction window install looks like for this specific location, not a generic checklist that could apply anywhere in Skagit County.
New construction is a different job from window replacement. On a replacement, you're working around an existing wall, matching an existing opening, and often accepting some compromises because the siding and trim are already in place. On new construction, the window goes in before the siding, before the trim, sometimes before the interior drywall — which means there's no excuse for getting the flashing and water management wrong. You get one clean shot at doing it right, and Ship Harbor's exposure doesn't leave much room for a mediocre install to age gracefully.
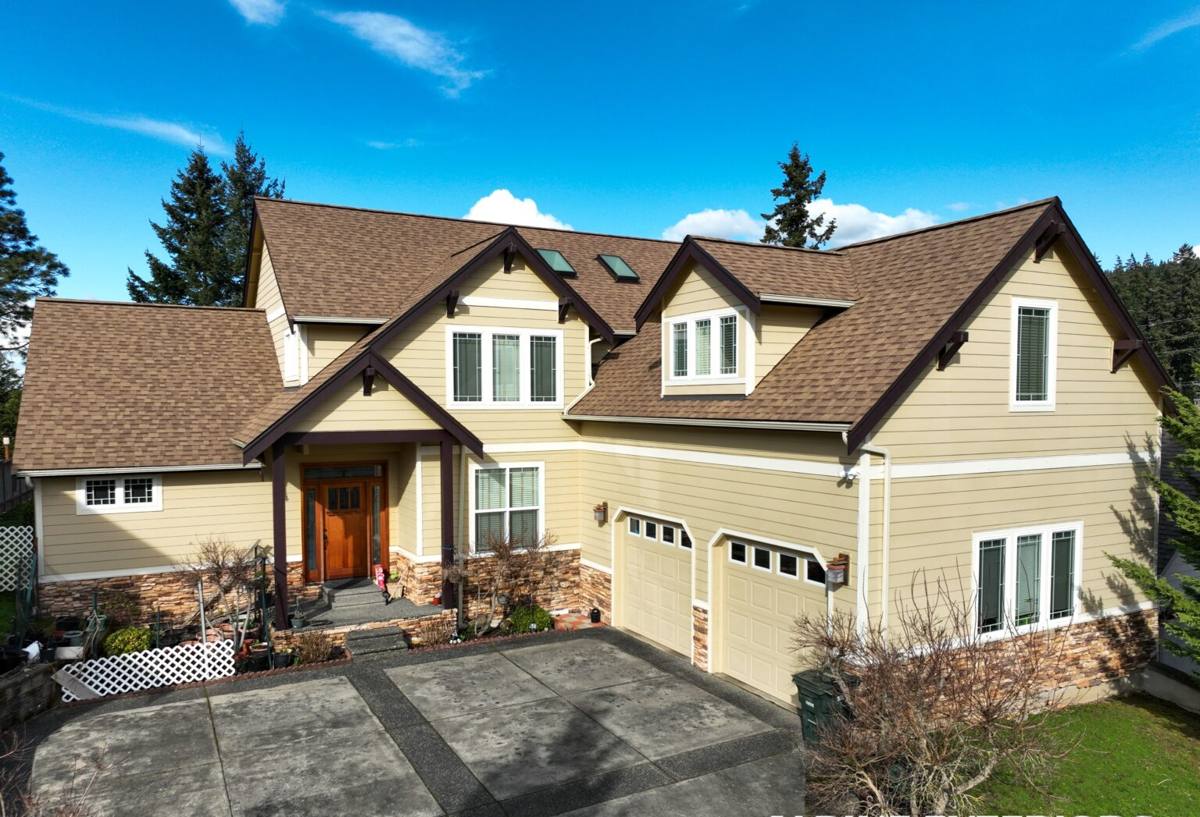
What This Site Demands From a Window Install
Three climate factors matter most for a Ship Harbor build:
- Salt air corrosion — hardware, fasteners, and flashing metals near the water corrode faster than the same materials a few miles inland. Cheap or mismatched fasteners show pitting and staining within a couple of years.
- Wind-driven rain — open exposure to the strait means rain doesn't just fall, it gets pushed sideways into wall assemblies. Flashing details that would be adequate on a sheltered inland lot aren't automatically adequate here.
- A long, wet moss season — Western Washington's extended damp stretch (roughly October through May) keeps sills, sashes, and trim wet longer than a drier climate would. Anywhere water can sit instead of shed becomes a spot for moss, algae, and eventual wood or sealant failure.
None of these are exotic problems, and none require exotic solutions. They just require an installer who treats the flashing sequence and product selection as seriously as the framing crew treats the shear wall schedule.
Getting the Rough Opening and Flashing Right
This is the part of the job that's invisible once the siding goes on — and the part that causes almost every long-term window leak we get called out to diagnose on older homes. A correct sequence looks like this:
- Rough opening is cut and checked for square, level, and correct sizing against the window's actual dimensions — not just the plan dimensions.
- A sloped sill pan flashing goes in first, so any water that gets past the window has somewhere to drain rather than pooling on the framing.
- The water-resistive barrier (house wrap) is integrated with the flashing using proper shingle-lap order — upper layers overlapping lower layers, so water always sheds outward and down, never into a seam.
- The window is set, shimmed level and plumb, and fastened per the manufacturer's nailing fin schedule — skipping fasteners or over-driving them are both common shortcuts that cause problems later.
- Head flashing and side flashing tape go on last, tied back into the WRB above and beside the opening.
On a low-exposure inland site, a shortcut here might not show up for ten or fifteen years. On a Ship Harbor lot taking direct wind-driven rain off the water, the same shortcut can show up in two or three wet seasons. We flash every new-construction opening the same way regardless of exposure, because it's the only way to guarantee the work holds up on the sites where it matters most.
Why This Matters More With Fiber Cement or Stucco
If the exterior cladding plan is fiber cement, stucco, or another rigid material, the window flashing has to be fully correct before the siding crew shows up — there's very little room to fix a flashing mistake once rigid siding is cut and fitted around an opening. Vinyl and lap wood siding offer a bit more forgiveness for minor adjustments; rigid claddings do not.
Choosing the Right Window for a Marine-Exposed Lot
There's no single "best" window brand — the right choice depends on budget, the home's design, and how much exposure the specific elevation gets. What we focus on with clients is frame material and glazing package, since those two factors do the most work against salt air and driving rain.
| Frame Material | Coastal Performance | Maintenance |
|---|---|---|
| Vinyl | Won't corrode; good sealed-unit performance; can look less refined on higher-end homes | Low — occasional cleaning, no painting |
| Fiberglass | Very stable in wet, salty, temperature-swinging conditions; strong choice for full water exposure | Low — durable finish, minimal upkeep |
| Aluminum-clad wood | Attractive interior wood look with a protective exterior shell; clad finish must be intact to protect the wood beneath | Moderate — sealant joints and clad seams need periodic inspection |
| Bare wood | Handsome but requires diligent maintenance in a wet, salty climate; we recommend it only with a clear maintenance plan | High — regular repainting/refinishing needed |
For most Ship Harbor builds we steer clients toward vinyl or fiberglass on exposed elevations, and reserve wood or wood-clad for sheltered elevations or interior courtyards where the weather exposure is genuinely lower. That's a maintenance-and-longevity recommendation, not a statement that any product is defective — it's about matching material to exposure.
Washington Energy Code and Glazing Requirements
New construction in Washington State has to meet current state energy code for window U-factor and, depending on the project, may need specific glazing for egress or safety (tempered glass near doors, low sills, wet areas, and stairways, for example). On a new build this gets checked at the permit and inspection stage, so window selection isn't just an aesthetic decision — it has to be documented and verified against the code path the project is using (prescriptive or performance). We coordinate window specs with what's already been submitted for permit so nothing gets flagged at inspection.
How We Work With Builders and Homeowners
Pre-Drywall Coordination
On a new build we're typically on site after the framing crew and before insulation and drywall go in. That timing matters — it's the only window (no pun intended) where the rough opening, sill pan, and WRB tie-in are all accessible and correctable before they get buried. We walk the openings with the general contractor or homeowner-builder before setting anything, confirm sizes against the window order, and flag any framing issues before they become install problems.
Final Walk-Through
Once windows are set and flashed, we do a walk-through covering operation (every sash opens, closes, and locks correctly), visible gaps or seal issues, and confirming exterior flashing tie-ins are ready for the siding crew to build around. Any punch-list items get handled before we're off site, not left for someone else to discover during siding install.
Mistakes We Catch on New Builds
Most of what causes long-term window failure on new construction traces back to a small set of avoidable errors. Before signing off on any opening, we check for:
- Missing or improperly lapped sill pan flashing
- WRB integrated in the wrong order (shingled the wrong direction, letting water track behind the barrier)
- Nailing fins fastened with the wrong spacing or wrong fastener type for the frame material
- Rough openings cut oversized "for wiggle room," leaving excessive shim gaps that compromise the seal
- Head flashing omitted or not tied back into the WRB above the opening
- Sealant used as a substitute for proper flashing sequence rather than as a secondary line of defense
Why a Crew That Already Works Ship Harbor Matters
General water-management principles apply anywhere, but knowing how hard a specific elevation gets hit by wind off the strait, or how long a shaded north wall stays damp into the spring, comes from working this part of Anacortes repeatedly. A crew that's only worked drier, inland Skagit County lots may not instinctively over-build the flashing detail on a west-facing wall that's taking direct weather. We treat every Ship Harbor opening as full-exposure by default and adjust downward for sheltered elevations, rather than the other way around.
We also know the practical side of building here — permitting timelines through the City of Anacortes, working around the wetter months so window openings aren't sitting exposed to rain for extended periods, and sequencing with local siding and trim crews who are used to the same coastal detailing standards.
Maintenance in the First Few Years
A correctly installed new-construction window shouldn't need much attention, but a little seasonal awareness extends its life considerably in this climate:
- Rinse accumulated salt film off exterior glass and frames a few times a year, especially on wind-exposed elevations
- Keep weep holes and sill tracks clear of debris and moss buildup during the wet months
- Check exterior caulk lines annually — not as the primary water barrier, but as a secondary seal worth keeping intact
- Watch for any staining or soft spots at the sill or corners, which can signal a flashing issue worth catching early rather than after years of hidden moisture
If you're planning a new build or addition in Ship Harbor and want windows installed the way this location actually requires, we're glad to walk the plans or the framed openings with you and put together a straightforward, no-pressure estimate. There's a form below — reach out and we'll go from there.