 Anacortes
 New Construction in Oak Harbor Starts the Window Decision Early
When a house is going up from the ground on Whidbey Island, the window package isn't a finishing touch — it's structural, it's part of the weather barrier, and it gets locked in well before drywall. We install new-construction windows for builders and homeowners working in and around Oak Harbor, and the jobs we see there have a lot in common with what we do closer to home in Anacortes and across Skagit County: wind off open water, salt in the air, and rain that comes in sideways more often than straight down. Getting the window opening right the first time matters more here than it does in a drier inland climate, because a small flashing mistake doesn't just show up as a drafty room — it shows up as rot inside a wall three or four years later, after the siding and trim are already closed up over it.
This page covers what we actually do on a new-construction window job in the Oak Harbor area: what the local weather demands, how a correct installation is sequenced, what materials hold up, and what our process looks like when we're working alongside a general contractor's framing and siding schedule.
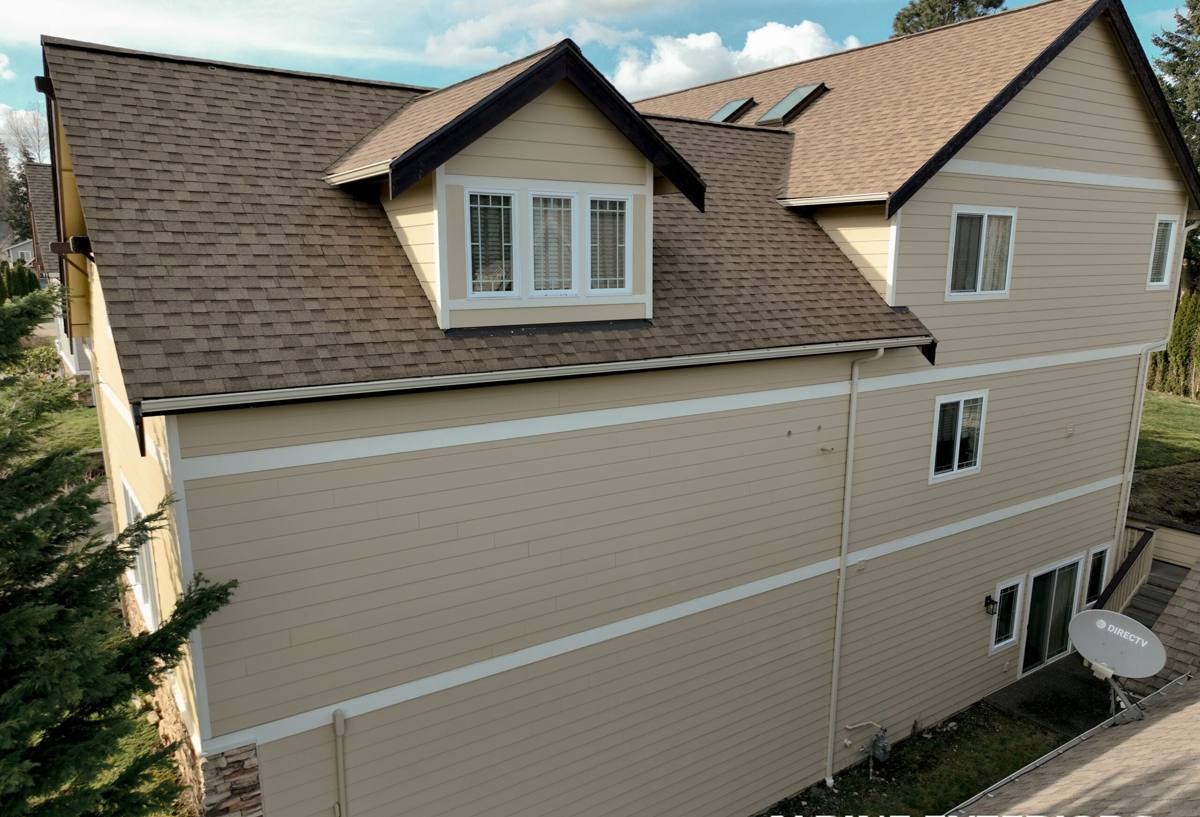
What Whidbey Island's Weather Asks of a New-Construction Window
Oak Harbor sits out on Whidbey Island, exposed to wind and moisture off Puget Sound and the Strait of Juan de Fuca. That combination shows up in three ways that matter for window selection and installation:
- Salt air. Coastal salt accelerates corrosion on hardware, fasteners, and lower-grade metal components — screens, balance systems, and cheap cladding fasteners age faster near the water than they would twenty miles inland.
- Wind-driven rain. Storms off the Sound don't just fall, they push. Water gets forced sideways against the building envelope, which means flashing details and a properly sloped sill matter as much as the window unit itself.
- A long moss and mildew season. Wet, mild winters mean anything that traps moisture — a poor drainage plane, missing weep paths, caulk used as a substitute for flashing — stays damp for months instead of drying out between storms.
None of this means a house on Whidbey Island needs exotic materials. It means the ordinary things — flashing sequence, sill pan drainage, correct fastening, and a window rated for the exposure — have to be done right, because this climate doesn't forgive shortcuts the way a drier region might.
Correct Installation Starts Before the Window Ever Arrives
Most window failures we get called to inspect, on new construction or otherwise, trace back to what happened at the rough opening — not to the window itself. On a new build we control that step directly, which is the real advantage of new-construction work over a retrofit into an existing wall.
Sill Pans and Sloped Sills
Every new-construction window we install gets a sill pan at the rough opening — a sloped, waterproof pan that directs any water that gets past the window back out to the exterior instead of letting it sit on the framing. On a site exposed to wind-driven rain, this is not optional detailing; it's the difference between a window that sheds an occasional leak harmlessly and one that slowly rots the sill plate underneath it.
Flashing Integration with the Water-Resistive Barrier
The window flashing has to integrate with the house wrap or building paper in the correct shingled order — building paper first, then sill flashing, then the window, then jamb and head flashing lapped over the top — so water always sheds down and out, never into a seam. We coordinate this step with the framer or the siding crew on-site rather than treating it as something to fix later, because once the wall is closed up, a flashing error is hidden until it fails.
Choosing a Window Line for This Climate
For new construction we're not fighting an existing opening, so material choice comes down to how the frame will perform over the long run in salt air and wet winters, and how it looks against the exterior finish. Here's how the common options compare for a build out here:
| Material | Coastal / Salt-Air Performance | Maintenance | Typical Trade-Off |
|---|---|---|---|
| Vinyl | Good — won't corrode or rot; UV-stable frames hold up well | Low — occasional rinse, no painting | Fewer color and profile options than fiberglass or wood-clad |
| Fiberglass | Very good — dimensionally stable through temperature swings, resists corrosion | Low to moderate | Higher upfront cost than vinyl |
| Wood-clad | Depends entirely on cladding and seal quality — a compromised seal lets moisture reach the wood core | Higher — cladding seams need periodic inspection | Best interior wood look, but more installation-sensitive in this climate |
| Aluminum | Poor without a thermal break — conducts cold and can corrode near salt air over time | Low | We generally steer new-construction clients away from bare aluminum this close to the water |
We're not going to tell a homeowner or builder there's only one right answer — budget, architectural style, and the exposure of a specific elevation all factor in. What we will say plainly: on a wall that takes direct wind-driven rain off the Sound, installation quality and sill and flashing detailing matter more than which top-tier material you choose. A well-installed vinyl window will outlast a poorly installed wood-clad one, every time.
How We Work With Builders and GCs on New Construction
New-construction window work is a coordination job as much as an installation job. Our process on an Oak Harbor build generally runs like this:
- Plan review and take-off. We work from the architectural plans to confirm rough opening sizes, egress requirements, and the window schedule before anything is ordered.
- Ordering and lead-time management. We place orders early enough to absorb manufacturer lead times without holding up the framing or siding schedule — a late window order is one of the most common causes of a stalled build.
- Rough opening verification. We check openings against the window schedule before install day, so sizing problems get caught while they're still an easy framing fix, not a return trip.
- Sill pan, flashing, and set. Windows go in plumb, level, and square, with the sill pan and flashing sequence described above, fastened per the manufacturer's specification to keep the warranty intact.
- Insulation and air-sealing at the perimeter. The gap between frame and rough opening gets properly insulated and air-sealed — not over-packed with foam, which can bow the frame and cause the sash to bind.
- Final inspection and sign-off. We walk every opening before the wall closes in behind siding or interior finish, because that's the last point anyone can see the flashing without opening the wall back up.
We're used to working alongside a general contractor's schedule rather than running a separate timeline of our own — showing up when the framing is ready, coordinating with the siding crew on flashing lap order, and not being the trade that holds up the next phase.
A Pre-Drywall Checklist We Run on Every Job
Before we sign off and the wall closes up, here's what gets checked on every new-construction window opening:
- Rough opening dimensions match the window schedule, with correct shim space on all sides
- Sill pan is present, sloped to the exterior, and free of punctures
- Flashing is shingle-lapped correctly with the water-resistive barrier — building paper, sill flashing, window, jamb flashing, head flashing, in that order
- Window is plumb, level, and square, with no racking of the frame from over-driven fasteners
- Weep holes and drainage paths in the sill are clear and unobstructed
- Perimeter gap is insulated without over-packing that bows the frame
- Fastening pattern matches manufacturer specification, so the warranty stays valid
- Hardware, screens, and locks operate correctly before the crew leaves the site
What Drives the Cost on a New-Construction Window Package
Every build is different, but the same handful of factors move the price up or down on a new-construction window package in this area:
| Factor | Why It Matters |
|---|---|
| Number and size of openings | Larger units and more openings mean more material and more labor hours |
| Frame material | Vinyl, fiberglass, and wood-clad options are usually the single biggest line-item swing in the package |
| Glass package | Upgraded low-E coatings or impact-resistant glass add cost, and can matter more on exposed elevations |
| Elevation exposure | Openings on the windward, water-facing side of a house sometimes warrant a higher-spec unit or extra flashing detail compared to a sheltered wall |
| Site access and staging | Waterfront or hillside lots on Whidbey Island can add labor time for material handling |
| Coordination timing | Windows ordered early against the framing schedule avoid rush fees and change-order costs from delays |
We won't quote a number without seeing the plans, but we're glad to walk a builder or homeowner through where their specific budget is going, and where it's worth spending more versus where a mid-tier choice performs just as well.
Why It Matters That We Already Work Oak Harbor
A crew that mostly installs windows in a dry inland climate can still do competent work, but they're less likely to catch the details that matter specifically here: the sill pan slope that accounts for wind-driven rain, the fastener spec that resists salt-air corrosion, the flashing lap order that keeps a long wet winter from finding its way into a wall. We work this stretch of water regularly, from our base in Anacortes across Skagit County and out to Whidbey Island, so we're not learning the local weather on someone's new build. We know what a window on an exposed elevation here needs to hold up, and we build that into the install instead of treating it as an afterthought.
If you're planning a new build or working with a general contractor on one in the Oak Harbor area, we're happy to look at the plans and talk through the window package before anything is ordered. Reach out for a free, no-pressure estimate — the form below gets you started.