 Anacortes
 Building New in Conway: Get the Windows Right the First Time
Conway sits in the low, flat farmland of the Skagit River delta, a short drive south of Anacortes and close enough to Skagit Bay that the weather off the water reaches it just as easily as it reaches the coastline. If you're framing a new home or outbuilding here, the windows are one of the few components that get sealed inside the wall assembly and then left alone for decades. Get the flashing, the fin nailing, and the sealant sequence right during the build, and you won't think about those windows again except to wash them. Get it wrong, and the mistake is hidden behind siding and trim until it shows up as a stain on drywall or a soft spot in framing five or ten years down the road.
New-construction window work is a different job than swapping out an old window in an existing wall. It happens at a specific point in the build schedule, it has to coordinate with the framer, the siding crew, and sometimes the stucco or masonry trade, and it's the one chance to build a fully integrated water-management system into the wall rather than working around one that's already there. That's the job we're describing here — not a general overview of windows, but what it actually takes to do this correctly on a new build in Conway.
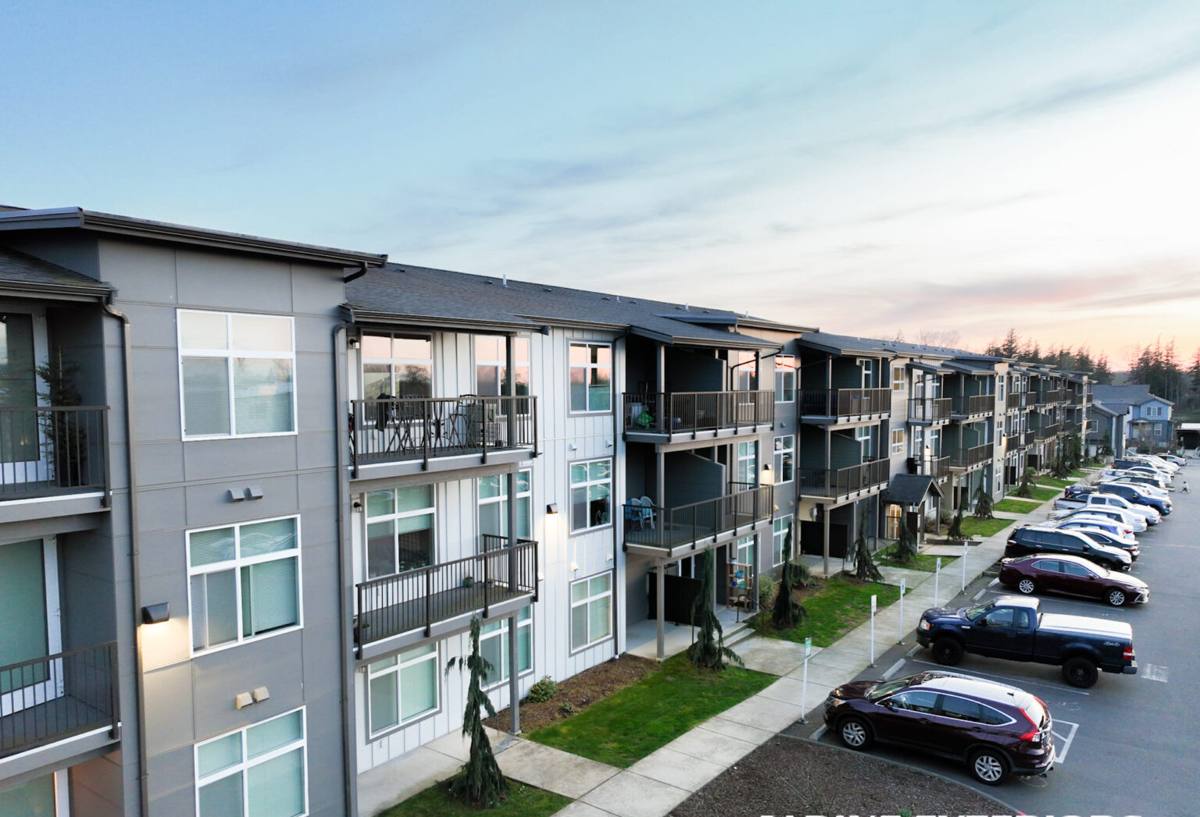
Why Skagit County's Climate Changes the Calculus
Anacortes and the surrounding Skagit County lowlands, Conway included, deal with a specific combination of conditions that a lot of window installation guidance simply doesn't account for. Salt-laden air off Skagit Bay and the Sound accelerates corrosion on unprotected fasteners and lower-grade hardware. Driving rain during fall and winter storms tests every seam and lap in the water-resistive barrier, not just the window itself. And the long stretch of cool, damp months that this region gets — often referred to locally as moss season — keeps exterior surfaces wet longer than drier climates, which means any flaw in flashing or sealant has more time to do damage before anyone notices.
None of this means Conway needs exotic windows. It means the installation details that are easy to skip in a drier climate — back-dammed sills, properly lapped flashing tape, corrosion-resistant fasteners, correctly pitched sills — are not optional here. A window that's perfectly adequate in a dry inland climate can still fail early in a wall that sees this much sustained moisture if it wasn't installed with that moisture in mind.
New-Construction Windows Are a Different Job Than Replacements
It's worth being clear about the distinction, because a lot of homeowners assume "window installation" is one uniform service.
A replacement window goes into an existing rough opening, usually from the outside, often without disturbing the interior wall or the existing flashing underneath. A new-construction window goes into bare framing before siding, and it uses a nailing fin (sometimes called a nail flange) around the perimeter that gets fastened directly to the sheathing and integrated into the building's water-resistive barrier — the housewrap or building paper — in a specific shingle-lap sequence. That sequence is what actually keeps water out over the life of the house; the window itself is only half the system.
Because we're brought in during the framing and rough-in stage, we're working alongside your builder or general contractor rather than as a standalone job. That coordination — showing up at the right point in the schedule, working off the same plans, and not holding up the siding crew behind us — is as much a part of this service as the window installation itself.
What a Correct New-Construction Installation Involves
Flashing and Water Management
This is the step that matters most and gets rushed most often on a tight build schedule. The rough opening needs a sloped sill pan so any water that gets past the window drains back out rather than pooling on the sill. Flashing tape at the jambs and head has to be lapped in the correct order — sill first, then jambs, then head — so water sheds down and out at every layer, the same way shingles work on a roof. Skip a lap or reverse the order, and you've built a pocket that holds water against the framing instead of shedding it.
Nailing Fin Attachment
The fin needs full contact with the sheathing and fasteners at the spacing the window manufacturer specifies — not "close enough." Gaps behind the fin or missed fasteners create weak points where wind-driven rain, which this area sees regularly in winter storms, can work its way in over time. In a salt-air environment, we also pay attention to fastener material so corrosion isn't quietly weakening that connection years later.
Sealing and Insulation
The gap between the window frame and rough opening gets sealed and insulated — usually with a low-expansion foam or backer rod and sealant, never packed tight with fiberglass, which does nothing to stop air and moisture movement. Interior and exterior sealant beads both matter; skipping either one leaves a path for air infiltration that shows up later as a draft or a higher heating bill.
Choosing Materials and Glass for a Conway Build
Frame material and glass package are decisions best made before your framer closes up rough openings, since window sizes and sightlines can shift slightly between product lines. Here's how the common options compare for a home built in this climate:
| Frame Material | Upfront Cost | Moisture Resistance | Maintenance | Best Fit |
|---|---|---|---|---|
| Vinyl | Lower | Good — won't rot or corrode | Low — occasional cleaning | Most new builds on a set budget |
| Fiberglass | Mid-to-higher | Very good — stable in wide temperature and moisture swings | Low | Larger openings, energy-focused builds |
| Wood-Clad | Higher | Depends heavily on installation quality and ongoing upkeep | Higher — exterior clad still needs monitoring at joints | Homeowners prioritizing interior wood appearance |
On glass, a dual-pane, low-E unit is standard practice for new construction in this region, and it's worth confirming the specific U-factor and solar heat gain coefficient work for your home's orientation rather than just taking a generic package. A window on a wall that catches a lot of driving rain off the water benefits from the same attention to frame and glass quality as one on a south-facing wall catching sun — the performance needs are different, but neither should be an afterthought.
Our Process on a New-Construction Job
Coordinating with Your Builder
We work off your plan set and rough opening schedule, confirming window sizes against the framer's actual openings before installation day — small discrepancies are common and easier to fix before we're on site than after. We schedule around your framer and siding crew so the build keeps moving.
Installation Day
Sill pan and flashing go in first, then the window is set, shimmed level and plumb, fastened per the manufacturer's fin schedule, and flashed at the jambs and head. Sealing and insulating the perimeter gap happens before we move to the next opening.
Final Walkthrough
Every window gets checked for square, smooth operation, and a complete seal before we consider the job done. We also flag anything the siding crew should know about — for instance, where flashing needs to be lapped correctly with the housewrap as siding goes on — so the water-management system stays intact through the rest of the build.
Why a Crew That Already Works Conway Matters
Conway isn't a big town, and a lot of the builds out here are on rural lots, farm properties, or smaller in-fill parcels rather than large subdivisions — which changes site access, material staging, and sometimes the septic or well setbacks a builder has to work around. A crew that's already done window installs in this immediate area knows what the local weather does to a job site mid-build, how to time installation around a wet forecast, and what inspectors in Skagit County typically want to see at rough-in. That familiarity doesn't replace good installation practice, but it does mean fewer surprises and less back-and-forth during a phase of the build where delays are expensive.
Common Mistakes We See on New Builds
Most window failures we get called out to fix later trace back to a handful of avoidable errors during the original install. Before your framer closes in walls, it's worth confirming these directly with whoever is installing your windows:
- Sill pan missing or not sloped, so water has nowhere to drain
- Flashing tape lapped in the wrong order (head before jamb, or jamb before sill)
- Nailing fin fasteners missing, under-driven, or spaced too far apart
- Perimeter gap packed with fiberglass insulation instead of foam or backer rod and sealant
- Housewrap not properly integrated with the window flashing before siding goes on
- Rough opening sizes not double-checked against actual window dimensions before delivery
Any one of these can look fine on move-in day and cause a problem years later once the wall's had a few winters to test it.
What Happens After Your Windows Are In
New-construction windows installed correctly don't need much from you. A yearly check of exterior caulking at the trim, keeping weep holes clear, and washing off the moss and grime that this climate builds up on glass and sills over the wet months is about the extent of it. If anything looks off — a soft spot in trim, a window that's harder to open than it used to be, staining below a sill — those are worth a look sooner rather than later, since catching a flashing issue early is a small fix and catching it late usually isn't.
If you're planning a new build in Conway or already framing one, we're happy to take a look at your plans and talk through window selection and installation timing. Reach out for a free, no-pressure estimate using the form below.