 Anacortes
 Building New in Edison Means Building for Wind-Driven Rain and Salt Air From Day One
Edison sits low and open along the Skagit County flats near Samish and Padilla Bay, with little in the way of tree cover or terrain to break up weather coming off the water. A new home going up here gets hit with a combination that's harder on windows than most inland Skagit or Whatcom County building sites: salt-laden marine air that accelerates corrosion on hardware and fasteners, driving rain that gets pushed sideways into wall assemblies during winter storms, and a long stretch of damp, low-sun months each year that keeps moisture sitting in places it shouldn't. On a new build, this all gets decided at the framing stage — before drywall, before trim, before anyone can see what's behind the window. Get the window installation wrong at this point and you're not looking at a cosmetic issue later, you're looking at rot inside a wall that's supposed to last 50-plus years.
New-construction window work is a different trade than replacing an old window in an existing wall, and it deserves to be treated that way. This page covers what that work actually involves for a new home in Edison, what correct execution looks like, and how we run the process alongside your builder or framing crew.
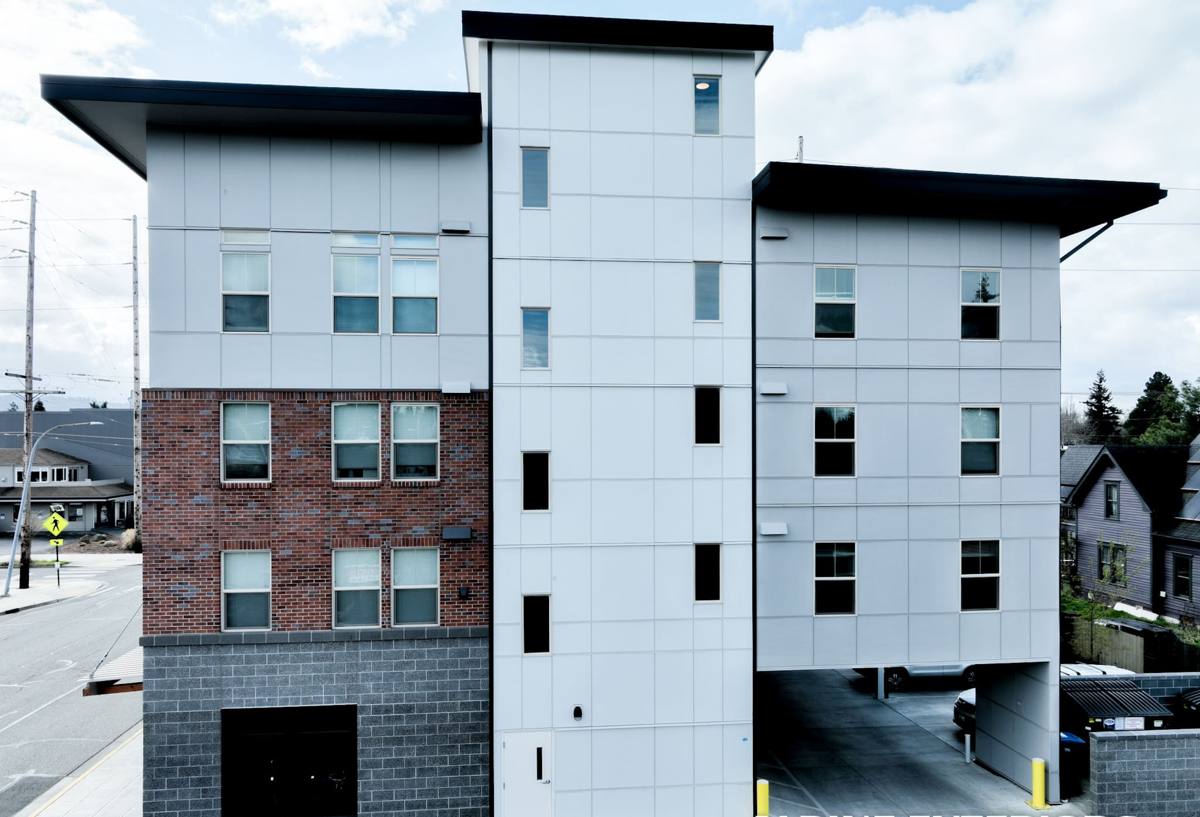
New-Construction Windows vs. Replacement Windows: Why the Distinction Matters
A replacement window is built to go into an existing rough opening, often without disturbing the exterior siding or trim — it relies on the window's own frame and interior sealant to manage water. A new-construction window is different: it has a nailing flange (or fin) around the perimeter that gets integrated directly into the wall's water-resistive barrier (WRB) and flashing system before siding ever goes on. That flange is the whole point. Done right, it becomes part of a continuous drainage plane that sheds water down and out, away from the framing, no matter what the weather throws at it over the following decades.
On a coastal Skagit County build, that drainage plane isn't optional detailing — it's the difference between a wall that dries out after a wet winter and one that's slowly rotting from the inside where nobody can see it until there's a stain on the drywall or a soft spot in the sill.
What This Means for an Edison Build Specifically
- Wind-driven rain off the bay pushes water sideways into wall assemblies, not just straight down — flashing has to account for both directions.
- Salt air corrodes unprotected steel fasteners and cheap hardware faster than it would 20 miles inland — fastener and flashing tape material selection matters more here.
- Long damp seasons mean any water that does get behind the cladding needs a real path out, not just a hope that it evaporates.
- Moss and algae growth on north- and west-facing walls holds moisture against the building longer, which raises the stakes on getting the drainage plane right the first time.
What a Correct New-Construction Window Install Actually Involves
This is the part of the job that never shows once the house is finished — which is exactly why it has to be done right the first time. There's no going back to fix a flashing detail after siding, trim, and interior finish are in.
The Sequence That Protects the Wall
- Rough opening check. Verify the opening is square, level, and sized correctly before the window ever shows up on site — a framing error here compounds into every step after it.
- Sill pan flashing. A sloped, sealed pan at the bottom of the opening so any water that gets past the window has a dedicated path back outside instead of soaking into the sill framing.
- Jamb and head flashing integrated with the WRB. Flashing tape and housewrap are lapped in the correct shingle-style order — bottom to top — so water is always directed onto the layer below it, never trapped behind a layer above.
- Window set into the opening, shimmed plumb, level, and square, with the nailing flange fastened per the manufacturer's pattern — not just tacked in a few spots.
- Backer rod and sealant at the interior and exterior gaps, sized and placed so the window can move slightly with temperature changes without the seal failing.
- Insulation in the gap between the window frame and rough opening — enough to control air movement, not so much that it bows the frame.
- Final flashing tape and drainage integration with the siding's weep path, confirmed before cladding goes on.
Every one of these steps depends on the one before it. Skip the sill pan and no amount of good sealant work above it will matter once water finds the low point.
Choosing Window Frame Materials for a Marine-Air New Build
New construction is the one time you get to choose frame material without being boxed in by an existing opening size, so it's worth weighing the trade-offs honestly rather than defaulting to whatever's cheapest per unit.
| Frame Material | Salt Air / Moisture Behavior | Maintenance | Typical Fit for Edison Builds |
|---|---|---|---|
| Vinyl | Won't corrode; performs well if fusion-welded corners are solid | Low — occasional cleaning | Good value option, wide color range now available |
| Fiberglass | Excellent — dimensionally stable, doesn't expand/contract much with temperature swings | Low | Strong choice for exposed, weather-facing elevations |
| Wood-clad (exterior clad, wood interior) | Good if cladding and flashing details are correct; exposed end grain is the risk point | Moderate — clad exterior is low-maintenance, but any breach needs prompt attention | Good for a specific look, but installation precision matters more in marine air |
| Aluminum | Conducts cold and can corrode without proper coating | Moderate | We typically steer new builds here away from this in favor of vinyl or fiberglass, given the salt-air exposure |
We'll walk through these trade-offs with you against your budget and the look you're going for — there's rarely a single "right" answer, just an honest one for your situation.
How We Work Alongside Your Builder or Framing Crew
New-construction window installation isn't a standalone job — it happens in the middle of a build sequence, coordinated with framers, the WRB installer, and whoever's running siding after us. Here's how that typically goes for an Edison project:
1. Plan Review Before Framing Locks In
We look at window schedules and rough opening sizes early, while changes are still cheap to make, and flag anything that'll cause flashing or drainage headaches later.
2. Site Coordination at the Right Framing Stage
We install once the WRB is on and the openings are ready — not before, and not so late that it holds up the siding crew behind us.
3. Flashing and Set, Documented as We Go
Because this work gets covered by siding, we photograph flashing and sill pan details at each opening before it's closed in, so there's a record of what's behind the wall if it's ever needed.
4. Final Check Before Siding Starts
A walk of every opening to confirm flashing laps, sealant, and fastening are complete and correct before we hand the wall off to the next trade.
Mistakes We See on New Builds — and Why We Build Differently
Some of these come from rushed schedules, some from crews that mainly do replacement work and treat new construction the same way. Either way, they're the kind of thing that doesn't show up until years later.
- No sill pan, or a flat one that doesn't actually direct water back outside.
- Flashing tape lapped in the wrong order, so water gets funneled behind the WRB instead of over it.
- Nailing flange only partially fastened, leaving the window able to shift slightly and break the seal over time.
- Sealant used to make up for a flashing detail that should have handled the water mechanically instead.
- Fasteners not rated for coastal/marine exposure, leading to early corrosion and staining.
- Gaps around the frame packed too tight with insulation, bowing the frame and affecting operation.
What Drives Cost on a New-Construction Window Package
| Factor | Why It Affects Cost |
|---|---|
| Number and size of window openings | More openings and larger units mean more material and labor hours |
| Frame material | Vinyl is typically the most budget-friendly; fiberglass and wood-clad run higher |
| Glazing package | Upgraded low-E coatings or triple-pane glass add cost but pay off in comfort and energy performance in our climate |
| Elevation exposure | West- and north-facing walls catching the most wind-driven rain sometimes warrant extra flashing detail |
| Site access and scheduling | Coordinating tightly with a framing schedule can be more efficient than a standalone install, but timing constraints matter |
We'll give you a straightforward number for your specific plan set rather than a vague range — every new build's window schedule is different.
Why It Matters That We Already Work in Edison
Crews that mostly work drier, more sheltered inland sites don't always adjust their flashing details for a site that's catching wind straight off the bay. We work new builds across the Anacortes and greater Skagit County area regularly, including sites in and around Edison, and we size up flashing, fastener, and drainage details for the actual exposure of your lot — not a generic inland standard. We also know how to move at the pace a framing schedule needs without cutting corners on the parts of the job nobody sees once the walls are closed up.
If you're planning a new home in Edison and want your windows installed by a crew that treats the flashing and drainage details as the actual job — not an afterthought before siding goes on — we'd be glad to take a look at your plans. Reach out for a free, no-pressure estimate using the form below.