 Anacortes
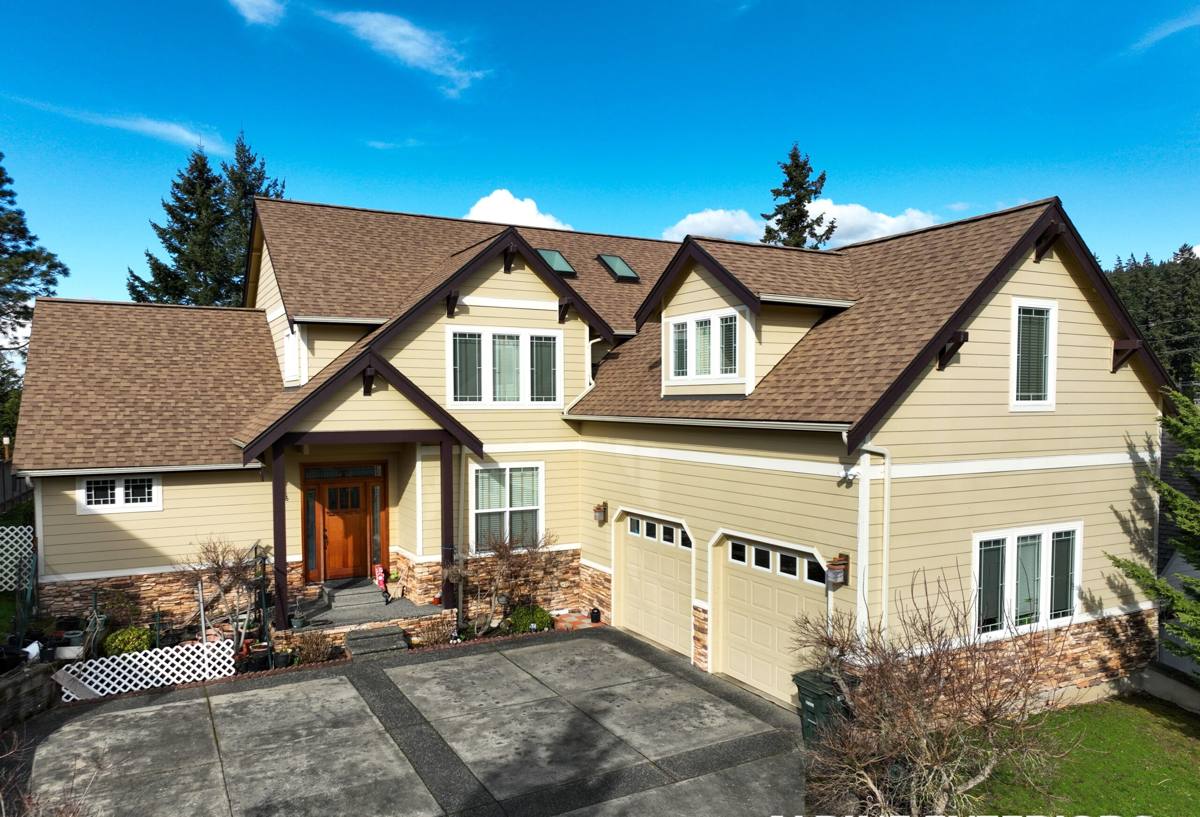
 Cap Sante sits up on the headland overlooking the marina on the north side of Anacortes, and homes in this part of town live with a version of Skagit County's marine climate that's a notch more demanding than most. The elevation and open exposure toward the water mean more direct wind and salt air reaching the exterior of a house, and that shows up on siding sooner than it does a few blocks inland. We install siding throughout Anacortes and the surrounding county, and Cap Sante is one of the areas where getting the installation details right — not just the material choice — makes the difference between siding that holds up for decades and siding that starts showing problems in five or six years.
What Cap Sante's Climate Does to Siding
Three things define the exterior workload on a Cap Sante home: salt-laden air off the water, driving rain that hits the building envelope at an angle instead of falling straight down, and a moss season that runs long even by Pacific Northwest standards. Salt air accelerates corrosion on fasteners, flashing, and any hardware that isn't rated for coastal exposure — a problem that's mostly invisible until it isn't, because it works from the inside of a wall assembly outward. Wind-driven rain finds its way into laps, joints, and trim details that would be fine in a calmer inland setting but fail on an exposed bluff lot. And the shade from mature trees on many Cap Sante properties, combined with a damp climate that rarely gives siding a long enough dry stretch, keeps moss and algae established on north- and east-facing walls essentially year-round.
None of that means siding can't perform well here — it means the installation has to account for the exposure rather than treat it as an afterthought. A lap siding job that's technically code-compliant but not detailed for wind-driven rain will still fail early on a Cap Sante lot, even with a good product on the wall.
What We Look For on Cap Sante Siding Inspections
- Caulking and butt joints that have opened up or gone brittle from repeated wet-dry cycling
- Corroded fasteners or flashing, especially on older installations that weren't detailed for coastal exposure
- Moss and algae established on shaded siding, sometimes holding moisture against the wall long enough to cause damage underneath
- Soft spots or staining near window and door trim, usually a sign flashing was never integrated correctly with the water-resistive barrier
- Paint or coating failure — chalking, peeling, or fading — on materials that weren't engineered for sustained UV and salt exposure
What a Correct Siding Installation Actually Involves
Siding installation gets treated as a cosmetic job more often than it should be. On a lot exposed the way Cap Sante properties are, it's a water-management system, and every layer of that system has to work together. The visible siding is the last line of defense, not the only one.
The Water-Resistive Barrier Comes First
Before any siding goes up, the wall needs a continuous, properly lapped water-resistive barrier — house wrap or an equivalent membrane — installed so that any water that does get past the siding drains back out instead of tracking into the wall cavity. On a wind-exposed lot, seams, laps, and penetrations in this barrier matter more than they would somewhere sheltered, because wind pressure actually pushes water into gaps that would otherwise just weep it out passively.
Flashing at Every Penetration
Windows, doors, hose bibs, electrical penetrations, and roof-to-wall intersections are the places siding jobs go wrong. Each one needs flashing that ties into the water-resistive barrier correctly — not just a bead of caulk covering a gap. Caulk is a maintenance item that degrades; flashing done right is a permanent detail that doesn't depend on someone remembering to re-caulk it every few years.
Fastening and Clearances
Fiber cement siding has manufacturer-specified fastener patterns, minimum clearances from grade, decks, and roof lines, and requirements for how it's fastened at studs versus over sheathing alone. Skipping these specs is one of the most common ways a siding job voids its own warranty without the homeowner knowing until there's a problem. On a coastal lot, we also pay attention to fastener material — stainless or coated fasteners rated for the exposure, not standard hardware that corrodes faster in salt air.
Why We Only Install James Hardie Fiber Cement
We install James Hardie fiber cement siding exclusively — we don't do vinyl, LP SmartSide, Cemplank, Allura, primed spruce, or cedar. That's a standard, not a sales pitch, and it comes from watching how different materials actually hold up in this specific climate over time.
Vinyl siding isn't a water barrier by itself — it relies entirely on what's behind it, and it can become brittle with age and UV exposure, which matters on a wall that takes direct wind-driven rain. Wood siding products need consistent repainting or restaining to stay protected, and once moisture gets behind the finish, rot follows — a demanding maintenance cycle for a home exposed to sustained salt air and shade-driven dampness. Engineered wood products like LP SmartSide are more moisture-resistant than raw wood but still rely on an intact factory coating and careful edge-sealing at every cut, which is a lot to depend on in a climate this wet. James Hardie fiber cement is non-combustible, dimensionally stable, and comes with a factory-applied ColorPlus finish engineered to resist fading and cracking under UV and salt exposure — the specific combination Cap Sante deals with year-round.
Hardie Product Lines for a Cap Sante Home
| Product Line | Best For | Notes |
|---|---|---|
| HardiePlank Lap Siding | Most Cap Sante homes, traditional and contemporary styles | Smooth or cedar-textured finishes, wide ColorPlus color range |
| HardiePanel Vertical Siding | Accent walls, gable ends, modern facades | Clean vertical lines, often paired with lap siding for contrast |
| HardieTrim Boards | Window and door surrounds, corners, fascia | Resists the moisture-driven failures common with wood trim |
| HZ10 Climate Engineered | Exposed, wind- and water-facing lots | Formulated specifically for wetter, harsher climate zones like western Washington |
How Our Installation Process Works
- Site walk and exposure assessment. We look at which walls face the water and prevailing wind, which are shaded and slow to dry, and what condition the existing siding, trim, and flashing are in.
- Removal and substrate check. Once old siding comes off, we inspect the sheathing and framing underneath for hidden moisture damage before anything new goes up — a step that gets skipped on rushed jobs and causes problems later.
- Water-resistive barrier and flashing installation. This is the part of the job that determines whether the siding lasts fifteen years or fifty, and it happens before a single piece of Hardie board is installed.
- Hardie siding installation to manufacturer spec. Correct fastener patterns, clearances, and joint treatment, with product selected for the specific exposure of each elevation.
- Trim, caulking, and final detailing. Caulk is used where it belongs — as a finishing detail, not as a substitute for flashing that was skipped earlier.
- Walkthrough. We go over what was done, what to expect from the finish over time, and what routine maintenance, if any, is worth keeping an eye on.
Cost Factors on a Cap Sante Siding Project
Every siding job is different, but a few factors consistently move the price on a project like this. We'll always give a specific number after seeing the home in person — the factors below are meant to help you understand what drives cost, not to serve as a quote.
| Factor | Why It Matters |
|---|---|
| Amount of existing damage | Rot or moisture damage found under old siding adds sheathing or framing repair before new siding can go on |
| Wall complexity | Multiple gables, dormers, and trim details take more labor and material than a simple rectangular wall |
| Product line and finish | HZ10 climate-engineered boards, custom ColorPlus colors, and vertical panel accents cost more than standard lap siding |
| Access and site conditions | Bluff lots, mature landscaping, and limited staging space can add time for scaffolding and material handling |
| Trim and flashing scope | A full trim replacement alongside siding costs more upfront but avoids mismatched materials and future water paths |
Why a Crew That Already Works Cap Sante Matters
Skagit County's coastal microclimates aren't uniform — a sheltered lot a few blocks from the water can go decades without the wear a Cap Sante bluff property sees in half that time. Knowing which elevations take the brunt of a winter storm, where moss keeps coming back no matter what gets done, and which flashing details are worth the extra time versus which ones just meet code minimum — that's knowledge that comes from doing this work on Cap Sante homes repeatedly, not from a generic install checklist.
It also means fewer surprises during the job itself. Bluff-lot access, narrow driveways, mature trees affecting scaffolding placement, and wind conditions that can shut down certain work on a given day are all things we've already planned around before we show up, because we've run into them on other Cap Sante projects.
What to Expect From Your Estimate
- A walk-around inspection of your current siding, trim, and any visible water or moss issues
- An honest read on what's failing from normal age versus what's failing because of a past installation shortcut
- A clear explanation of why we recommend James Hardie fiber cement for this specific site and exposure
- A written scope covering removal, substrate repair if needed, water-resistive barrier, flashing, and siding installation
- No pressure to sign on the spot — we'd rather you have time to think it over
If your Cap Sante home has siding that's cracking, fading, holding moss, or showing staining near the trim, we're glad to take a look. Reach out for a free, no-pressure estimate — we'll walk the property with you and give you a straight answer about what it actually needs.