 Anacortes
 Building New in Mount Vernon? Get the Windows Right the First Time
New-construction windows are a different job than replacement windows, and treating them the same is where a lot of houses in Skagit County start leaking within a few years of the certificate of occupancy. On a new build, the window goes in with a nailing flange, tied directly into the house wrap and flashing system before siding ever goes on. There's no old frame to work around and no shortcuts to hide behind — the window opening, the flashing sequence, and the window unit itself all have to work together as one system. Get that sequence wrong on a new house and you're chasing water intrusion behind brand-new siding within a few winters.
We install new-construction windows on homes and additions throughout Mount Vernon and the surrounding Skagit County valley. The climate here isn't gentle on building envelopes — long stretches of driving rain, humid river-valley air, and a moss season that runs most of the year all put steady pressure on window openings. A correctly installed window handles all of that without a second thought. This page covers what that actually looks like.
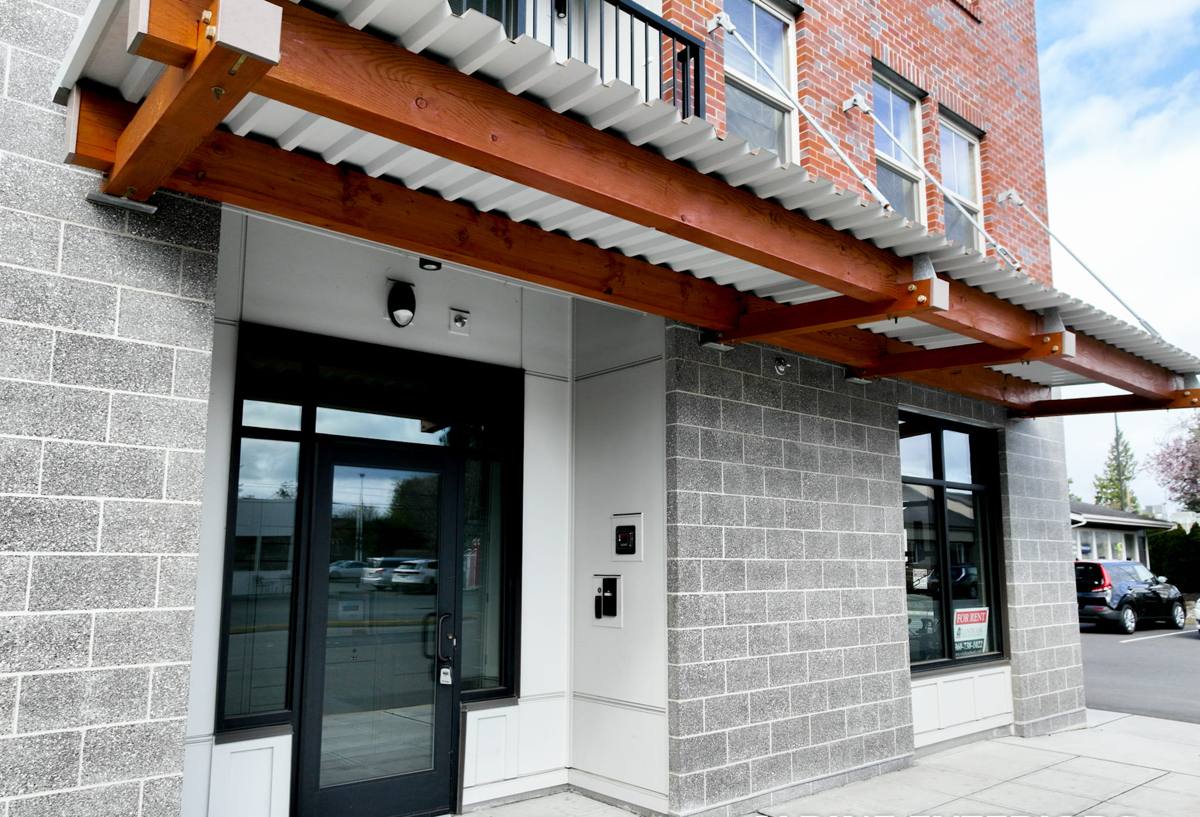
Why Mount Vernon's Climate Changes the Job
Mount Vernon sits in the Skagit River valley, inland from the saltwater exposure Anacortes and the islands deal with, but that doesn't mean the weather goes easy on a house. The valley holds moisture — fog, low cloud, and steady rain are the norm for much of the year, and that dampness sits against exterior walls longer than it would somewhere drier. A few things we build every window installation around:
- Wind-driven rain: Storms off the Sound push rain sideways, not straight down, which means it's testing your window's sill pan and flashing laps, not just the glass.
- Extended damp season: Skagit County doesn't get long dry stretches. Any small gap in the flashing plane stays wet longer, giving rot and mold more time to establish before anyone notices.
- Moss and organic growth: Constant moisture feeds moss and algae on siding and trim. It won't damage a well-flashed window directly, but it holds water against surfaces longer, which raises the stakes on getting the water management details right underneath.
- Seasonal temperature swings: Warm summer afternoons and cold, damp winters both cause the window frame and surrounding framing to expand and contract. Sealants and flashing tapes need to be rated for that movement, not just applied once and forgotten.
None of this requires exotic materials. It requires doing the ordinary steps correctly, in the right order, every single time.
What a Correct New-Construction Window Installation Involves
The Flashing Sequence
This is the part of the job that determines whether the window leaks in five years, not whether it looks good on move-in day. The rough opening gets a sloped sill pan so any water that gets past the window drains back outside instead of pooling on the sill. Flashing tape and house wrap are layered shingle-style — each layer overlapping the one below it — so water always sheds downward and outward, never into the wall cavity. Corners and the head flashing above the window are the spots most installations get wrong; we treat those as the highest-risk points on every opening.
Setting and Fastening the Window
The window has to sit level, plumb, and square in the opening before a single nail goes through the flange. A racked or twisted frame stresses the sash and hardware, which shows up later as windows that stick, don't latch cleanly, or let air through at the corners. We shim to the manufacturer's fastening schedule, not a rough approximation — under-fastening lets a window shift over time, over-fastening or fastening at the wrong points can distort the frame.
Sealing and Insulating the Gap
The gap between the window frame and rough opening gets sealed and insulated, not just caulked shut. Low-expansion foam or backer rod and sealant, applied correctly, controls air leakage without bowing the frame inward — over-filled foam is a common cause of windows that won't operate smoothly right out of the gate.
Interior and Exterior Trim-Out
Once the window is set and sealed, exterior trim and siding tie into it, and interior trim finishes the opening. This is also where we confirm the window operates correctly — locks engage, sashes glide, screens fit — before the crew moves to the next opening.
Choosing Windows for a Skagit Valley Build
Vinyl, fiberglass, and wood-clad windows all show up in Mount Vernon new construction, and each has a real trade-off worth understanding before you commit to a whole-house order.
| Frame Material | How It Handles Valley Moisture | Maintenance | Typical Fit |
|---|---|---|---|
| Vinyl | Won't rot or corrode; performs well in sustained damp conditions | Low — occasional cleaning | Budget-conscious builds, rentals, spec homes |
| Fiberglass | Very stable through temperature and humidity swings; strong moisture resistance | Low | Custom homes wanting durability without wood upkeep |
| Wood-clad | Exterior cladding protects the wood, but any breach in the cladding lets moisture reach bare wood | Moderate — sealant joints need periodic inspection | Homeowners prioritizing interior wood appearance |
| Aluminum | Conducts cold and can condense in our damp winters unless thermally broken | Low, but condensation issues if under-specified | Modern designs, best with a thermally broken frame |
Glass package matters as much as frame material. In this climate, we generally recommend double-pane, low-E glass with argon fill as the baseline, and we'll walk through upgraded packages for west- and south-facing walls that take more direct rain and sun. The right answer depends on the home's orientation, roof overhangs, and how much of the wall is glass — not a one-size answer we apply to every build.
Our Process for New-Construction Window Jobs
- Plan review: We look at the window schedule, rough opening sizes, and elevations before framing is even finished, so nothing gets discovered as a surprise mid-build.
- Rough opening check: Before any window goes in, we verify openings are square, correctly sized, and properly wrapped.
- Sill pan and flashing install: Sloped sill pans and shingle-lapped flashing go in per opening, following manufacturer instructions for that specific window line.
- Window set and fastening: Level, plumb, square, fastened to spec.
- Seal and insulate: Gap treated correctly on both interior and exterior faces.
- Operation and quality check: Every window opens, closes, locks, and seals correctly before we sign off.
- Tie-in coordination: We coordinate with siding and trim crews so the water management plane stays continuous from window to wall.
Coordinating With Your Builder or General Contractor
On most new builds, we're one trade among several working the same walls — framers, siding crews, and sometimes the general contractor's own punch-list crew. Water management on a new house only works if everyone's details line up: the house wrap, the window flashing, and the siding all have to overlap in the correct order. We coordinate directly with your GC or framing crew on sequencing so nobody's covering up an unfinished flashing detail or fighting an opening that isn't square. If we're brought in early — during plan review rather than after framing is done — we can flag rough-opening sizing issues before they cost anyone a change order.
Common Mistakes We See on New Builds in This Area
- Skipped or flat sill pans: Without a sloped pan, any water that gets past the window sits on the sill instead of draining out — a slow, hidden problem in a climate that rarely dries out.
- House wrap taped in the wrong order: If wrap or flashing tape isn't lapped shingle-style, water gets directed into the wall instead of away from it.
- Over-foamed gaps: Too much expanding foam bows the frame and causes windows that won't latch or operate smoothly.
- Wrong fastener schedule: Skipping fastening points to save time leaves the window able to shift, which stresses seals over the years.
- Rushed corners: Head and sill corners are the highest-risk points on any flashing job, and they're the first place installers cut corners under schedule pressure.
None of these show up on inspection day. They show up two, three, five winters later, as staining, soft trim, or a draft that wasn't there before — and by then the fix costs a lot more than getting it right during the build.
What This Costs and What Drives the Price
New-construction window installation pricing depends on the number of openings, window size and material, glass package, and how much coordination the job needs with other trades. Fiberglass and upgraded glass packages cost more up front than standard vinyl, but on a house you're building once, it's worth weighing that cost against decades of exposure to Skagit Valley weather rather than against the sticker price alone. We'll give you a clear, itemized estimate broken out by opening once we've reviewed your plans — no guessing, no vague allowances.
Why Hire a Crew That Already Works Mount Vernon
A window installer who mostly works drier inland markets can still do competent work, but they're less likely to instinctively over-build the flashing detail for a valley that stays damp most of the year. We install and flash windows in this climate regularly, which means the sill pan slope, the tape lap sequence, and the sealant choices are second nature, not something we're relearning on your job. We also know what Skagit County's inspectors and building codes expect for water-resistive barriers and flashing, which keeps your framing and drywall schedule from stalling on a failed inspection.
If you're building new in Mount Vernon and want windows installed by a crew that treats the flashing detail as seriously as the window itself, we'd be glad to walk your plans and give you a straightforward, no-pressure estimate using the form below.