 Anacortes
 Building New on Fidalgo Island Comes With Its Own Rules
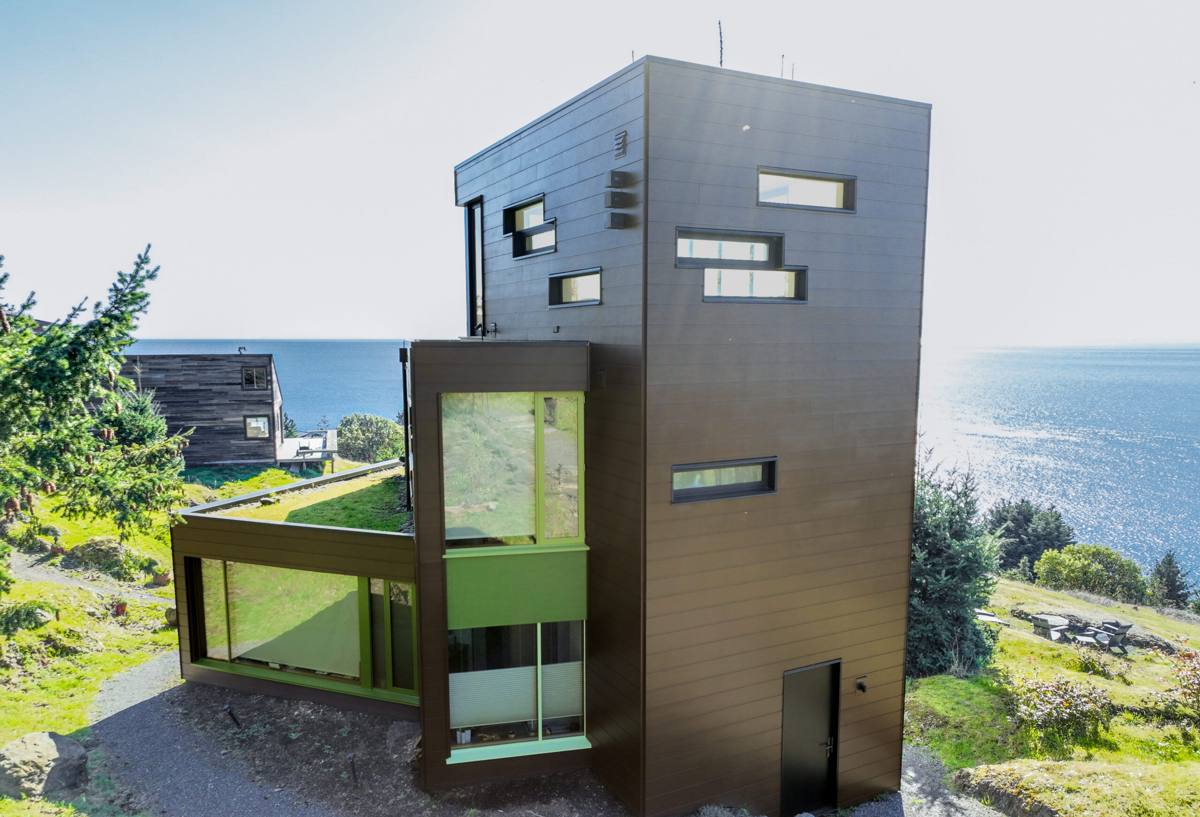
Fidalgo Island sits surrounded by the waters of the Salish Sea, Rosario Strait, and Guemes Channel, which means every new home or addition going up here is exposed to salt-laden air, driving rain that comes in sideways off the water, and a long, damp moss season that can stretch from fall through spring. When you're framing a new structure or adding a room, the windows you put in and how you install them are one of the biggest factors in whether that building stays dry and comfortable for the next 30 years or starts showing rot and leaks within five. New-construction windows aren't just "windows for a new house" — they're a different product, installed a different way, than the replacement windows most homeowners are familiar with. Getting that distinction right matters more here than it does inland.
New-Construction vs. Replacement Windows: Why the Difference Matters
New-construction windows have a nailing fin (sometimes called a nail flange) built into the frame. That fin gets fastened directly to the wall sheathing before the weather-resistive barrier and siding go on, which lets us build a proper layered flashing system around the window from the ground up. Replacement windows, by contrast, are designed to slide into an existing frame with the old exterior finish left in place — there's no nailing fin, and the water management relies on sealant and the condition of the opening that's already there.
On a new build or addition, you have the opportunity to do this the right way the first time — full access to the rough opening, the sheathing, and the barrier system before anything is closed up. That's a real advantage on Fidalgo Island, where the cost of a mistake isn't a drafty window, it's water working its way behind the siding for years before anyone notices.
Why This Distinction Gets Missed
We regularly see new-construction windows installed like replacement windows — set into the opening and sealed around the outside without proper fin integration or flashing layering underneath. It looks fine on install day. The problem shows up two, five, or ten winters later, once moisture that got behind the fin has had time to work into the sheathing and framing.
What Fidalgo Island's Climate Actually Demands
A few things about building on the island specifically shape how we approach a window install:
- Wind-driven rain: Storms off the water don't just fall straight down — they push rain sideways into wall assemblies, which is why sill pan flashing and proper fin-to-barrier lapping matter more here than in a drier, more sheltered inland location.
- Salt air corrosion: Fasteners, hardware, and even some window frame components can corrode faster near the water. We pay attention to fastener material and hardware finish on projects closer to the shoreline.
- Persistent moisture and moss season: Long stretches of damp, low-sun weather mean any water that does get trapped behind a window or siding assembly has plenty of time to do damage before it ever dries out. Correct flashing sequencing is the difference between water shedding away and water sitting.
- Temperature swings between marine layer mornings and clear afternoons: This causes ongoing expansion and contraction at the window-to-wall joint, which is why sealant choice and joint design matter for long-term performance, not just day-one appearance.
What a Correct New-Construction Window Install Actually Involves
There's a specific sequence to this, and skipping steps or doing them out of order is where most future leaks come from.
1. Rough Opening Prep
The opening gets checked for square, level, and correct dimensions before the window ever shows up on site. An opening that's slightly out of square causes stress on the frame and gaps that are hard to seal correctly later.
2. Sill Pan Flashing
A sloped or pre-formed sill pan goes in first, so that any water that does find its way to the sill is directed back outward rather than pooling and soaking into the framing below.
3. Setting the Window
The window gets set, shimmed level and plumb, and fastened through the nailing fin per the manufacturer's schedule — enough fasteners, in the right spots, without over-driving them and distorting the frame.
4. Flashing the Fin Into the Weather-Resistive Barrier
This is the step that determines whether the wall assembly actually works as a system. Flashing tape and the housewrap or building paper need to be layered in the correct order — jamb flashing, then head flashing, lapped so that water is always directed down and out, never trapped behind a lap that runs the wrong way.
5. Interior and Exterior Sealing
Low-expansion foam or backer rod and sealant at the interior gap for air sealing, and a compatible exterior sealant joint where the frame meets the siding trim — sized and tooled correctly so it flexes with temperature changes instead of cracking.
Materials: Choosing Windows That Hold Up Near the Water
Frame material and glass package both affect how a window performs against salt air, moisture, and the temperature swings common on the island. There's no single "best" choice for every project — it depends on budget, the home's design, and how exposed the site is.
| Frame Material | Moisture Behavior | Maintenance | Typical Fit |
|---|---|---|---|
| Vinyl | Doesn't rot or corrode; performs well in damp climates | Low — occasional cleaning | Most new-construction budgets; wide color/size range |
| Fiberglass | Very stable in moisture and temperature swings; low expansion/contraction | Low | Higher-end new builds, larger openings, better long-term dimensional stability |
| Wood-clad | Good performance if cladding and flashing are done correctly; interior wood needs protection from interior humidity | Moderate to higher | Homes prioritizing a wood interior look with an exterior-durable clad shell |
| Aluminum | Strong but prone to condensation and corrosion near salt air unless thermally broken and properly finished | Moderate | Specific architectural applications; we evaluate case by case for shoreline exposure |
For glass, we typically talk through double- vs. triple-pane, Low-E coatings, and gas fill with each homeowner based on the home's orientation and how exposed it is to wind and weather. On a new build, this is also the point to decide on tempered glass where code requires it (near doors, low sills, wet areas) so it's specified correctly from the start rather than caught in an inspection later.
Our Process for New-Construction Window Work
- Site visit and plan review — we walk the framing (or plans, if we're brought in early) and talk through window schedule, sizes, and any exposure concerns specific to the lot.
- Product selection — we go over frame material, glass package, and budget honestly, including trade-offs, not just upsells.
- Coordination with your builder or framer — rough openings need to match window sizes exactly; we confirm this before ordering to avoid delays.
- Installation — sill pan, window set, fin flashing, and sealing done in the correct sequence, with attention to the barrier system already on the wall.
- Integration with siding — as your siding contractor, we make sure the window trim and flashing tie into the siding installation cleanly, which is a real advantage of having one crew handle both instead of coordinating two separate trades.
- Final walkthrough — we check operation, sealing, and trim on every opening before calling the job done.
Why Hiring a Crew That Already Works Fidalgo Island Matters
Anyone can install a window on a calm, dry day. The difference shows up in how that install holds up through an Anacortes winter. A crew that works this island regularly already knows how exposed a given site tends to be, how the local moisture and moss patterns affect wall assemblies over time, and what flashing details actually hold up here versus what looks fine on paper. We're not learning the region on your project — we've already seen how these builds perform a few winters in, and we build accordingly the first time.
There's also a practical advantage to keeping window install and siding install under one crew: the two trades have to integrate perfectly at every opening, and finger-pointing between separate contractors over a leak is the last thing you want on a new home.
Common New-Construction Window Mistakes We See
- Nailing fin fastened directly to sheathing with no sill pan flashing underneath
- Weather-resistive barrier lapped in the wrong order around the window opening, directing water inward instead of out
- Rough openings cut too large, then packed with excess foam or sealant instead of properly shimmed and flashed
- Exterior sealant used as the only water management layer, with no flashing behind it
- Fastener material that isn't suited to salt-air exposure on shoreline-facing sites
- Window trim installed before siding without coordinating reveal and flashing overlap between the two
Timeline and Cost Factors
Every new-construction window project is different, but a few factors consistently drive both timeline and cost. Broad packages for a typical single-family new build commonly land in a wide range depending on window count, sizes, and material — we'll give you a firm number once we've reviewed your plans or framing rather than quoting off a general estimate.
| Factor | Impact |
|---|---|
| Number and size of openings | More and larger windows increase both material and labor cost |
| Frame material chosen | Vinyl is typically the most budget-friendly; fiberglass and wood-clad cost more upfront |
| Site exposure | Shoreline-facing or highly exposed sites may call for upgraded fasteners or flashing detail, adding modest cost |
| Coordination with framing schedule | Windows ordered and installed on the builder's timeline avoid delays that push back siding and finish work |
| Custom sizes or shapes | Non-standard openings take longer to source and install than stock sizes |
Let's Talk About Your Project
If you're framing a new home or addition on Fidalgo Island and want windows installed correctly the first time — with flashing and sealing that's built for this island's rain and salt air, not just a dry-day install — we're happy to take a look at your plans or your framing and give you a straightforward, no-pressure estimate. Fill out the form below and we'll get back to you.