 Anacortes
 New-Construction Windows in Skyline: Getting It Right the First Time
Skyline sits close enough to the water that salt air, wind-driven rain, and a long stretch of damp, moss-friendly weather are just part of owning a home here. When you're building new, the window installation is one of the few chances you get to build moisture protection in correctly from the start — before siding, trim, and interior finishes cover up the details. Get it right now and you won't be chasing leaks, stains, or rot around window openings ten years from now. Get it wrong, and the mistakes are hidden behind finished walls until they aren't.
This page covers what a correct new-construction window install looks like specifically for Skyline homes, what our process is, and why it matters to hire a crew that already understands how Anacortes and Skagit County weather behaves against a building envelope.
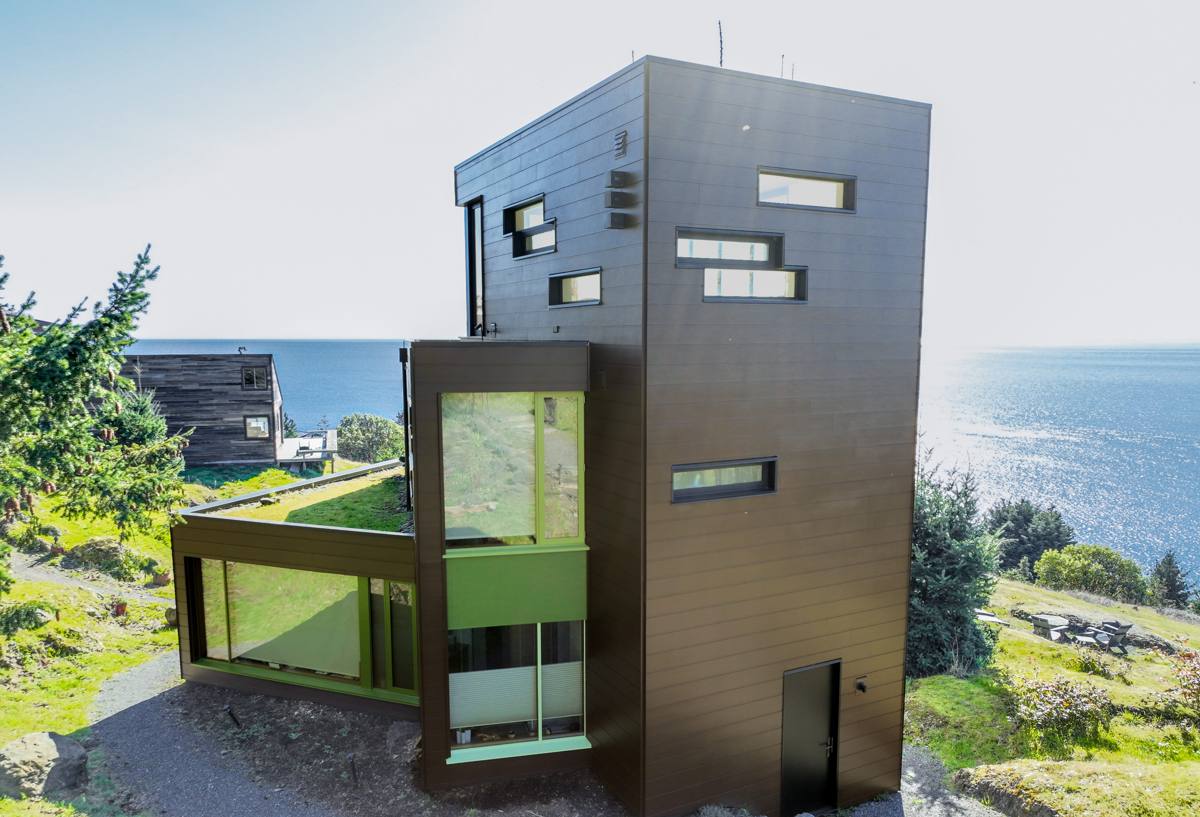
What Skyline's Climate Actually Does to a Window Opening
New-construction windows aren't just "put in a window" — they're a system that has to work with the house's water-resistive barrier (WRB), flashing, and siding to keep water out for decades. In Skyline, three local conditions make that system more demanding than it would be in a drier inland climate:
Salt Air
Proximity to the water means airborne salt settles on and around exterior components. Salt accelerates corrosion on fasteners, hinges, and some lower-grade cladding or trim metals. It doesn't ruin a window outright, but it does mean fastener choice and flashing metal matter more here than they would twenty miles inland.
Driving Rain
Storms off the Sound and Strait don't just drop rain straight down — wind pushes it sideways into wall assemblies, which is exactly the condition window flashing details are designed to handle (or fail under). A sill pan, properly lapped tape, and correctly sequenced WRB integration matter far more in a driving-rain climate than in a place where rain mostly falls straight down.
Long Moss Season
Anacortes stays damp and shaded for much of the year, and moss and algae growth on surfaces near window openings — sills, trim, adjacent siding — is common. That growth holds moisture against wood and painted surfaces longer than a quick-drying climate would allow, which is why detailing and product choice around the opening matter, not just the window unit itself.
New-Construction Windows vs. Replacement: Why the Approach Is Different
People sometimes assume "new-construction window" is just a marketing term for a nicer install. It isn't — it's a structurally different product and installation method than a replacement (retrofit) window, and getting the distinction right at the framing stage saves real money and rework later.
| Factor | New-Construction Window | Replacement Window |
|---|---|---|
| Nailing fin | Yes — fastens directly to sheathing/framing | No — fits inside existing frame |
| Flashing integration | Full sill pan, WRB lap, and housewrap tie-in done during framing/sheathing stage | Limited — works with existing opening and finishes |
| Best timing | Before siding and exterior trim go on | Any time, on an already-finished wall |
| Long-term moisture control | Highest, when detailed correctly | Good, but constrained by existing conditions |
| Typical use case | New builds, additions, full wall reconstruction | Existing homes keeping their current framing |
Because Skyline sees real wind-driven rain, we treat the new-construction stage as the one chance to build in a belt-and-suspenders moisture path — sill pan, back dam, correctly shingled WRB, and properly integrated flashing tape — rather than relying on caulk and trim to do that job later.
What a Correct Install Involves
A window opening that fails in this climate almost never fails because the window itself was bad. It fails because one step in the sequence was skipped or done out of order. The sequence matters as much as the materials:
- Rough opening check — squared, correctly sized, and structurally sound before anything else happens.
- Sill pan installation — a sloped, sealed pan at the bottom of the opening that directs any water that gets past the window back outside, not into the wall.
- WRB (housewrap) integration — shingle-lapped so water always drains down and over the layer below, never into a seam.
- Window setting and fastening — shimmed level and plumb, fastened per the manufacturer's schedule (which affects the warranty).
- Flashing tape at jambs and head — lapped in the correct order over the nailing fin and WRB, with a head flashing that sheds water outward and down.
- Interior and exterior sealant — backer rod and sealant where specified, without over-sealing in ways that trap moisture instead of releasing it.
Any one of these steps done out of sequence — flashing tape applied under the WRB instead of over it, for example — can turn a small amount of driving rain into a slow leak that isn't visible until there's already damage inside the wall cavity.
Materials Worth the Extra Attention in Skyline
- Corrosion-resistant fasteners and flashing metal where salt exposure is a factor, rather than the cheapest available hardware.
- Self-adhered flashing tape rated for the temperature and moisture range we actually get here, not a generic all-climate product.
- Frame materials and finishes that hold up to sustained dampness and periodic salt exposure without excessive maintenance.
- Sill pans and back dams, even on openings where a builder might be tempted to skip them to save time.
Choosing Window Products for This Site
We don't push a single brand as the answer for every new build. What we do is steer builders and homeowners away from products and details that create predictable maintenance headaches in a wet, salt-influenced climate — not because a product is "bad," but because of honest trade-offs:
- Frame material: vinyl, fiberglass, and clad-wood all perform differently in sustained moisture and salt exposure. We'll talk through maintenance expectations for whichever your design calls for, rather than assuming one is automatically right.
- Glazing and weatherstripping: matters more for comfort and condensation control than most people expect in a marine climate with big day-to-night temperature swings.
- Finish and hardware: in salt-air exposure, hardware finish and fastener grade affect how the window looks and operates five and ten years out, not just on install day.
Where we steer away from a product or detail, it's because of documented maintenance burden, moisture behavior, or installation sensitivity — never because of a rumor or a competitor's claim we can't stand behind.
Our Process for New-Construction Window Installs in Skyline
- Plan review — we look at the window schedule and rough-opening dimensions before framing is finalized, so there are no surprises at install time.
- Coordination with your builder/GC — window install has to happen at the right point in the framing-to-siding sequence; we work on your schedule, not around it.
- Sill pan and flashing installation — done to manufacturer specification and adjusted for our local wind-driven rain exposure.
- Window setting — level, plumb, and fastened per the manufacturer's schedule to keep the warranty intact.
- Final flashing and WRB tie-in — inspected before siding crews cover the wall, since this is the last point anyone can see the details.
- Walkthrough — we go over what was done and what maintenance, if any, to expect over time.
Why Hiring a Crew That Already Works Skyline Matters
Window flashing details that work fine in a dry inland climate can be marginal here. A crew that mostly works drier parts of the state may not default to a sill pan and back dam on every opening, or may use flashing tape that isn't suited to sustained dampness. We work Anacortes and greater Skagit County regularly, which means we're not guessing about how a wall assembly behaves through a wet fall and winter — we're building to what we've actually seen hold up, and what we've seen fail.
That local experience also matters for timing and sequencing with other trades on a build. Knowing when siding crews, painters, and inspectors typically move through a Skyline job means fewer scheduling conflicts and fewer half-finished openings sitting exposed to weather longer than they should.
Cost Factors for New-Construction Window Installs
Every build is different, so we won't quote a number without seeing the plans, but these are the main things that move the price on a new-construction window package:
| Factor | Why It Affects Cost |
|---|---|
| Number and size of openings | More/larger openings mean more flashing, labor, and materials |
| Window product tier | Frame material, glazing package, and hardware finish all vary in price |
| Wall height and access | Second-story and hard-to-access openings take longer to flash correctly |
| Exposure orientation | Walls facing prevailing wind-driven rain may warrant upgraded flashing detail |
| Coordination complexity | Tight build schedules or multiple trades on-site can add coordination time |
A Practical Pre-Install Checklist
- Confirm rough openings match the approved window schedule before window delivery.
- Verify sill pans and back dams are specified for every opening, not just ground-floor ones.
- Ask what flashing tape brand and rating will be used, and confirm it's suited for sustained damp exposure.
- Confirm fastening schedule matches manufacturer requirements to protect the warranty.
- Have someone inspect flashing before siding crews close up the wall — it's the last chance to catch a mistake easily.
Let's Talk About Your Skyline Build
If you're framing a new home or addition in Skyline and want the window openings detailed correctly the first time, we're happy to walk through your plans and give you a straightforward, no-pressure estimate. Fill out the form below and we'll get back to you to talk specifics for your build.