 Anacortes
 New-Construction Windows Are a Different Job Than Replacement
New-construction windows aren't the same trade as replacement windows, and treating them the same way is how leaks start. A replacement window gets set into an existing, already-flashed opening — the old frame stays in place and the new unit is sealed against it. A new-construction window has a nailing fin (sometimes called a nail flange) that gets integrated directly into the rough opening, tied into the weather-resistive barrier, and flashed in a specific sequence before siding ever goes on. Get that sequence wrong on a Burlington-area build and you won't see the problem for a year or two — by then it's hidden behind trim and siding, and the damage is already in the framing.
We do this work as the window and siding crew on new builds and additions in and around Burlington, coordinating directly with framers and general contractors so the window opening, the flashing, and the exterior cladding all work as one system instead of three separate trades hoping it lines up.
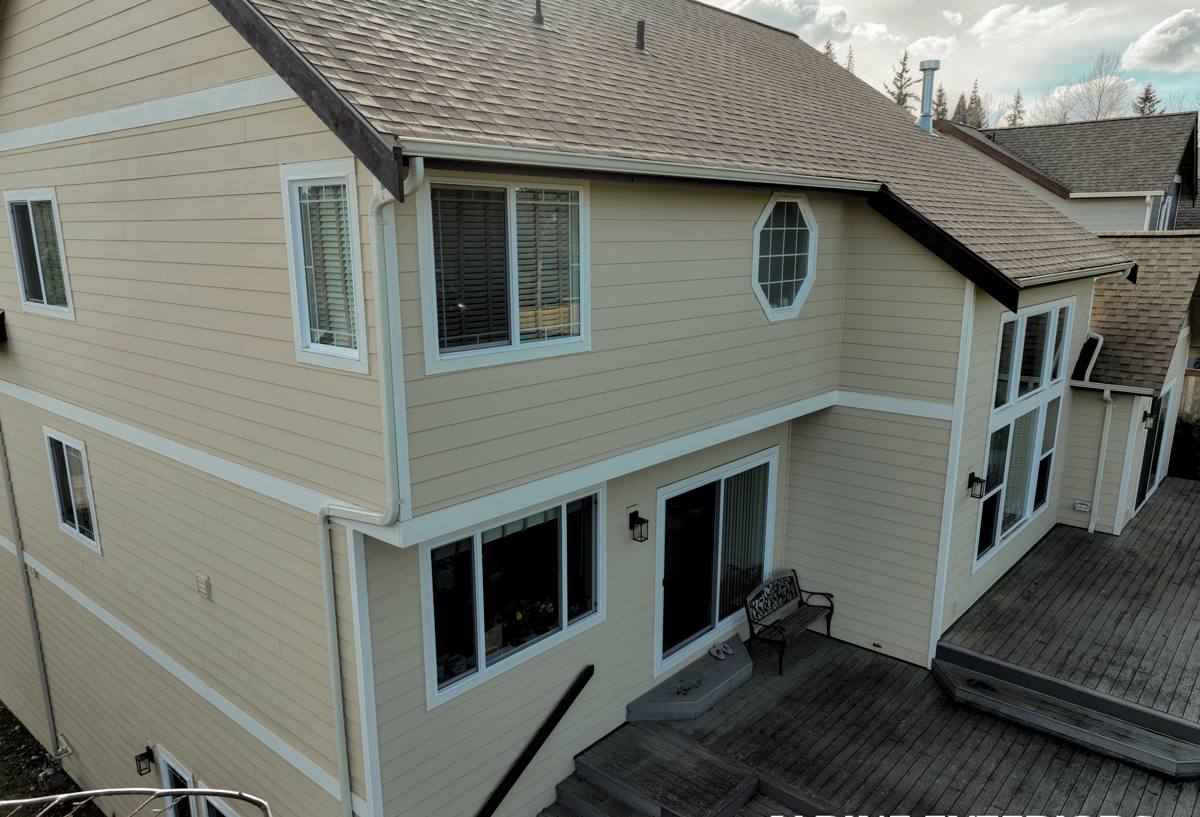
What Skagit County's Climate Actually Demands
Burlington sits inland from Anacortes but still gets the same weather pattern that drives our whole approach to window installation here: salt-laden air off Puget Sound and the Strait, long stretches of driving, wind-blown rain rather than gentle vertical rain, and a wet season that runs long enough to grow moss on anything that stays damp. None of that is exotic — but it means a window install that would pass fine in a dry inland climate can fail here within a few winters if the details are skipped.
Three things matter more here than in a drier region:
- Wind-driven rain resistance — rain here doesn't just fall on a window, it gets pushed sideways into the joint between the frame and the wall.
- Corrosion resistance — salt air accelerates corrosion on cheap fasteners, uncoated flashing, and lower-grade hardware faster than most manufacturers' generic install instructions assume.
- Sustained moisture exposure — long wet seasons mean any flashing mistake has months, not days, to do damage before things dry out again.
Moss and Algae Aren't Just a Roof Problem
Moss season in Skagit County shows up on north-facing trim, sills, and anywhere water sits instead of shedding. It's mostly a maintenance issue on siding and trim, but it's a signal worth paying attention to on windows too — persistent green growth around a sill or head trim usually means water is lingering there instead of draining, which is exactly the condition that eventually finds its way past the flashing.
The Flashing and Moisture Sequence We Follow
This is the part of a new-construction window install that actually determines whether the window performs for 20+ years or starts leaking in year three. Skipping steps here is the single biggest cause of hidden window damage in this region, and it's invisible once the wall is closed up.
- Sill pan flashing — a sloped, sealed pan at the bottom of the rough opening that catches any water that gets past the window and directs it back outside, rather than into the wall cavity.
- Weather-resistive barrier prep — the WRB (housewrap or equivalent) gets cut and prepped so it laps correctly with the window flashing — water always has to shed downward and outward, never into a seam.
- Side flashing tape — self-adhered flashing tape over the side nailing fins, sealing them to the WRB.
- Window set and fastened — set plumb, level, and square, fastened with corrosion-resistant fasteners rated for the exposure.
- Head flashing — installed last, lapping over the WRB above the window so water draining down the wall sheds over the top of the window, never behind it.
- Sealant at the right joints only — sealant belongs at specific joints, not smeared everywhere; over-sealing can trap water that needs to drain out.
Every step laps the one below it, shingle-style, so water always moves down and out. It's a simple principle, but on a real jobsite with multiple trades and a schedule to keep, it's also the first thing that gets rushed. We don't rush it.
Choosing the Right Window Frame for a Burlington Build
Frame material matters more here than in a dry climate, because salt air and sustained moisture punish weak points faster. There's no single "best" answer — it depends on your budget, your home's design, and how much upkeep you want to take on.
| Frame Material | Salt Air / Moisture Behavior | Maintenance | Typical Cost Position |
|---|---|---|---|
| Vinyl | Won't corrode or rot; performs well if welded corners and hardware are quality-grade | Low — occasional cleaning | Most affordable |
| Fiberglass | Very stable in wet/salt exposure; minimal expansion and contraction | Low | Mid to upper-mid |
| Wood-clad | Good if the cladding and flashing details are done right; the wood core is the vulnerable point if moisture gets in | Higher — cladding and seals need periodic inspection | Higher |
| Aluminum | Prone to corrosion near salt air unless marine-grade coated; conducts cold | Moderate | Varies |
For most new builds in this area, we point homeowners toward vinyl or fiberglass for the balance of moisture performance and low upkeep. We'll walk through wood-clad options too if the design calls for it — but we'll also be honest that any product with a wood component needs the flashing and cladding details done exactly right, because that's the point where moisture problems start if corners get cut.
Working With Your Builder or General Contractor
On a new build, window install timing is tied to the framing and dry-in schedule — windows typically go in right after the WRB is on and before siding starts. We coordinate directly with your GC or framer on:
- Rough opening sizes and tolerances before windows are ordered
- Sequencing so the WRB is installed and ready before we set windows
- Making sure our flashing details match what the siding installer expects to lap into
- Sign-off photos of each flashed opening before it's covered — cheap insurance against disputes later
If you're the homeowner overseeing your own build, we're glad to work directly with your builder rather than requiring you to be the go-between on every detail.
Energy Code and Performance Requirements
Washington's state energy code sets minimum U-factor requirements for new-construction windows, and those requirements get checked at inspection. U-factor measures how well a window resists heat loss — lower is better. Most code-compliant new-construction windows in this climate zone use double- or triple-pane glass with low-E coatings and argon gas fill to hit the required numbers without needing exotic (and expensive) glass packages.
Beyond code minimums, it's worth spending a little more on glass package if your build has larger window areas or north/west exposure that takes the brunt of the weather — the incremental cost is usually modest compared to the total window budget, and it pays back in comfort and lower energy bills for as long as you own the home.
Our Install Process, Start to Finish
For a typical new-construction window package, our process looks like this:
- Review the window schedule and rough opening sizes with the builder before ordering
- Confirm product selection and glass package against code requirements and your budget
- Coordinate scheduling with the framing and WRB timeline
- Install sill pans, side flashing, windows, and head flashing in the correct sequence
- Document each opening with photos before siding covers it
- Final walk-through to confirm operation, seals, and trim-out details
Before Drywall or Siding Closes the Wall — Confirm This
- Sill pan is sloped and sealed, not just laid flat
- Side flashing tape fully adheres with no gaps or wrinkles
- Head flashing laps over the WRB above the window, not tucked behind it
- Fasteners are corrosion-resistant and set correctly, not overdriven
- Window is plumb, level, square, and operates smoothly before it's trimmed
- Sealant is at the correct joints only — no gaps at critical laps, no sealant blocking drainage paths
Why a Local Crew Matters for This Kind of Work
Window flashing details written into a manufacturer's install manual are usually generic — they're written to satisfy a broad range of climates, not the specific combination of salt air, driving rain, and long wet seasons that Skagit County deals with every year. A crew that works new construction across this region regularly sees which details actually hold up here and which ones look fine on paper but underperform once real weather hits them. That's not something you get from a manual; it's something you get from doing this work, in this climate, repeatedly.
If you're planning a new build or addition in the Burlington area and want windows installed right the first time, we'd be glad to take a look at your plans and walk you through options. Reach out for a free, no-pressure estimate — there's a form below to get started.