 Anacortes
 Flounder Bay's Roofing Challenge: Salt Air, Rain, and Moss
Flounder Bay sits close enough to the water that every roof out here is doing more work than a roof twenty miles inland. Salt-laden air moves through the neighborhood constantly, driving rain comes in sideways off the water during winter storms, and the shaded, damp conditions that define this part of Skagit County give moss and algae months on end to take hold. A roof that would hold up fine in a drier part of Washington can start showing real problems here in half the time if it wasn't built for this specific exposure.
We install roofs across Anacortes, but Flounder Bay gets treated differently from the start. The materials, the fastener choices, the ventilation plan, and the flashing details all change when a home sits this close to salt water. This page covers what a correct new roof installation looks like for this neighborhood, not a generic checklist that ignores where you actually live.
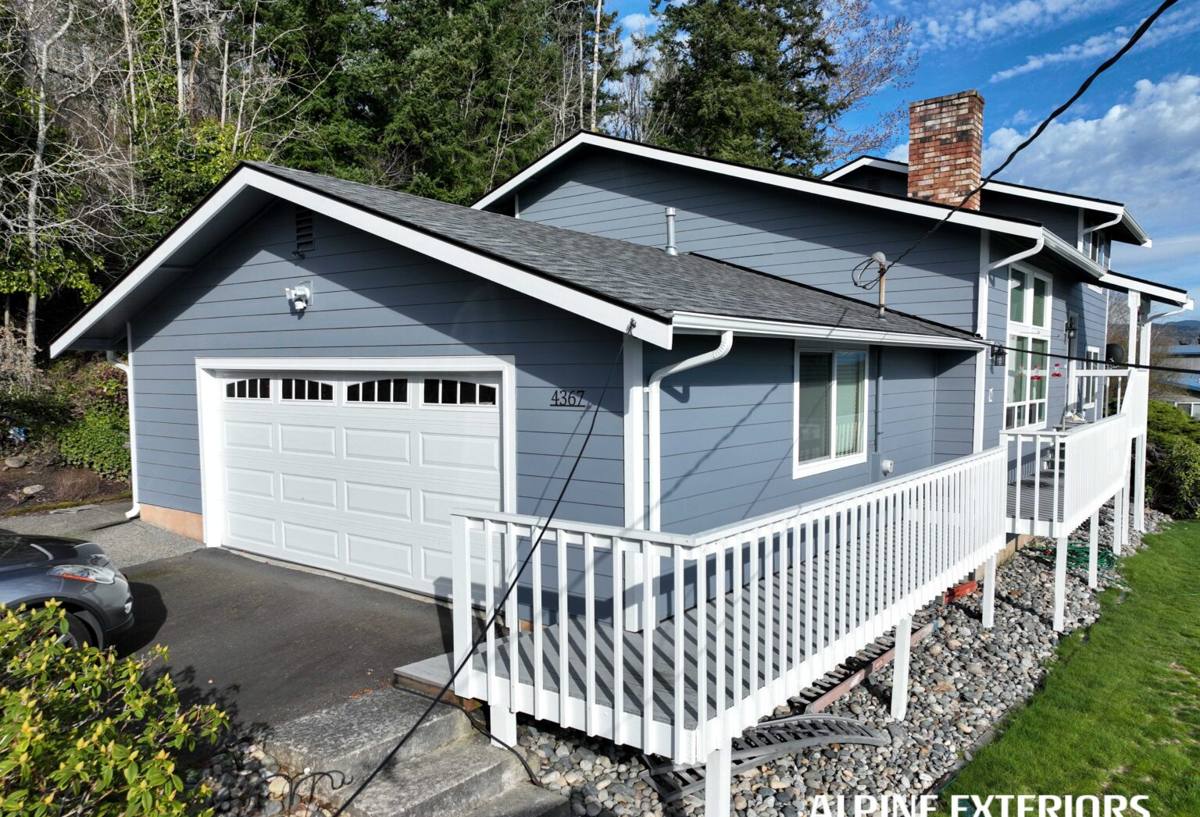
How Coastal Exposure Wears Down a Roof
It helps to understand the specific mechanisms at work before deciding what to install. Three things do most of the damage in Flounder Bay:
Salt Air
Airborne salt is corrosive to exposed metal — nails, flashing, valley metal, vent stacks, and gutter hardware all take a hit over time if they're not rated for coastal exposure. Standard fasteners and untreated flashing can start corroding years before they would in a drier, inland location.
Driving Rain
Storms off the water don't just fall straight down — wind pushes rain sideways and up under shingle edges, flashing laps, and roof-to-wall transitions. A roof detailed for calm, vertical rainfall will leak here. Every lap, seam, and penetration has to be built assuming wind-driven water is going to test it.
Moss and Algae
Shade, moisture, and cooler surface temperatures near the water add up to a long moss season — often most of the year on north-facing slopes and anywhere tree cover keeps a roof from drying out. Moss holds moisture against the roofing material, works its way under shingle tabs, and can lift and crack them over a few seasons if it's never controlled.
Signs It's Time for a New Roof
Homeowners in Flounder Bay often ask whether a roof issue is a minor repair or a sign the whole system needs to be replaced. These are the signals worth taking seriously:
- Granules collecting in gutters or at downspout outlets, indicating shingle wear
- Shingles that are cupping, curling at the edges, or visibly cracked
- Moss buildup that keeps returning within a season or two of cleaning
- Dark streaking or algae staining across large sections of the roof
- Soft spots in the decking felt underfoot in the attic or from the roof edge
- Daylight visible through the roof deck from inside the attic
- Rusting or lifting flashing around chimneys, vents, or roof-to-wall joints
- Interior water stains on ceilings, especially after a windy rainstorm
- A roof approaching or past 20-25 years old, regardless of visible damage
Any one of these on its own might be a repair. Several together, especially on an older roof, usually mean it's time to talk about full replacement rather than patching the same weak points again.
What a Correct New Roof Installation Actually Involves
A new roof is more than laying down new shingles over the old structure. In a climate like this, the parts you don't see matter as much as the finished surface.
Tear-Off and Deck Inspection
We remove the old roofing down to the deck rather than layering over it. This lets us actually see the plywood or sheathing underneath — spot rot, soft spots, or water damage from old leaks, and replace only the sections that need it before anything new goes down. Roofing over a compromised deck just hides the problem for a few more years.
Underlayment and Water-Resistant Barrier
The underlayment is the roof's backup plan if wind-driven rain ever gets past the surface layer. In an exposure like Flounder Bay's, we pay particular attention to ice-and-water shield or equivalent self-adhered membrane at eaves, valleys, and any low-slope transitions, since these are the areas most likely to see water pushed uphill by wind.
Ventilation
A roof that can't breathe traps moisture in the attic, which speeds up deck rot and gives mold and moss more to work with from underneath as well as above. Balanced intake and exhaust ventilation is part of a correct installation, not an optional add-on.
Flashing and Penetrations
Chimneys, vent stacks, skylights, and roof-to-wall transitions are where most leaks actually start. We use corrosion-resistant flashing material and lap it correctly — upper pieces over lower pieces, always shedding water downhill — so wind-driven rain has nowhere to get behind it.
Choosing the Right Roofing Material for Flounder Bay
There's no single "best" roofing material for every home — it depends on your budget, your roof's slope and shading, and how much maintenance you want to take on. Here's how the common options hold up specifically in a salt-air, high-moisture, moss-prone setting:
| Material | Coastal/Moisture Performance | Moss Resistance | Typical Lifespan |
|---|---|---|---|
| Architectural asphalt shingle | Good, with proper underlayment and flashing | Moderate — benefits from algae-resistant granules | 25-30 years |
| Standing seam metal | Excellent when fasteners and flashing are coastal-rated | High — sheds moisture quickly, little for moss to grip | 40-50+ years |
| Composite/synthetic shingle | Very good — resists moisture absorption | Moderate to high, depending on product | 30-50 years |
| Cedar shake | Requires diligent upkeep in this climate | Low without regular treatment and cleaning | 20-30 years with maintenance |
We steer most Flounder Bay homeowners toward algae-resistant asphalt shingles or standing seam metal because they hold up with the least maintenance burden in salt air and heavy moss conditions. Cedar shake can look great, but it demands a maintenance schedule most homeowners underestimate once they're dealing with this much seasonal moisture — that's an honest trade-off we'll walk through with you rather than talk you out of a look you want.
Our Installation Process, Step by Step
- On-site inspection and estimate — we assess your existing roof, attic ventilation, and any problem areas before quoting anything
- Material selection — we go over options suited to your home's exposure, slope, and budget
- Scheduling around weather — we plan the tear-off and dry-in around forecasted rain, since an open roof deck can't sit exposed here
- Tear-off and deck repair — old roofing removed, deck inspected, damaged sheathing replaced
- Underlayment and dry-in — the roof is weathertight the same day the deck is exposed wherever possible
- Flashing, ventilation, and material installation — the new roofing goes on with attention to every lap, seam, and penetration
- Final walkthrough — we go over the finished roof with you and clean up the site fully before we consider the job done
What Drives the Cost of a New Roof
Every roof is priced on its own specifics, but the main variables are consistent. Rather than quote a number that won't mean much without context, here's what actually moves the price:
| Factor | Why It Matters |
|---|---|
| Roof size and complexity | More valleys, dormers, and roof planes mean more labor and flashing detail |
| Material choice | Asphalt, metal, and composite carry different material and labor costs |
| Deck condition | Rot or soft sheathing found during tear-off adds repair cost but prevents bigger problems later |
| Ventilation upgrades | Adding or correcting intake/exhaust venting is worth doing during a full replacement |
| Access and pitch | Steep or hard-to-access roofs take longer and require more safety setup |
Most full roof replacements land somewhere in the range of a solid mid four-figure number for a smaller, simple asphalt roof up to a low five-figure number or more for larger homes, steeper pitches, or metal roofing. The only way to get a real number for your home is a proper on-site look — we won't guess over the phone and we won't lock you into an estimate that ignores what's actually going on with your deck and ventilation.
Why Hire a Crew That Already Works Flounder Bay
A roofing crew that mostly works inland jobs may not think twice about standard fasteners, standard underlayment, or skipping extra flashing detail at a roof-to-wall transition — because in a drier climate, those shortcuts often don't cause problems for years. In Flounder Bay, they show up fast. Salt air finds unprotected metal. Wind-driven rain finds a flashing lap that wasn't detailed for it. Moss finds any spot where moisture lingers.
Working this neighborhood regularly means we already know which slopes hold moss longest, which exposures take the worst of the winter storms coming off the water, and which material and fastener choices actually hold up here rather than just on paper. That's not a marketing point — it changes real decisions on your roof, from the underlayment we spec to how we lap flashing at every penetration.
Protecting Your New Roof After Installation
A correctly installed roof still benefits from basic upkeep, especially in a climate that grows moss for most of the year. A simple annual routine goes a long way:
- Clear gutters and downspouts each fall before winter storms arrive
- Have moss and debris removed from the roof surface before it builds up thick enough to hold moisture
- Check attic ventilation isn't blocked by insulation or storage
- Look for lifted or missing shingles after major windstorms
- Have flashing around chimneys and vents checked every few years for corrosion or lifting
None of this requires a major time investment, but skipping it is how a well-installed roof loses years off its lifespan in a coastal climate like this one.
If your Flounder Bay home needs a new roof, or you're not sure whether what you're seeing is a repair or a replacement, we're happy to take a look. Fill out the form below for a free, no-pressure estimate and we'll walk the roof with you and give you a straight answer.